Thrifting for Craft Supplies: My Exciting Finds
Welcome to the Blog today, Friends. I am so excited to have you join me here today for this latest thrifting adventure. This one took…

Thrifting the Upstate
Welcome to the Blog today, Friends. I am so excited to have you join me here today for this latest thrifting adventure. This one took…
“In solitude, listen to your heart, for at that moment, it speaks nothing but the truth.”― Michael Bassey Johnson Welcome to the Blog today, Friends. Spring…
All the variety, all the charm, all the beauty of life is made up of light and shadow. Leo Tolstoy Welcome to the blog today,…
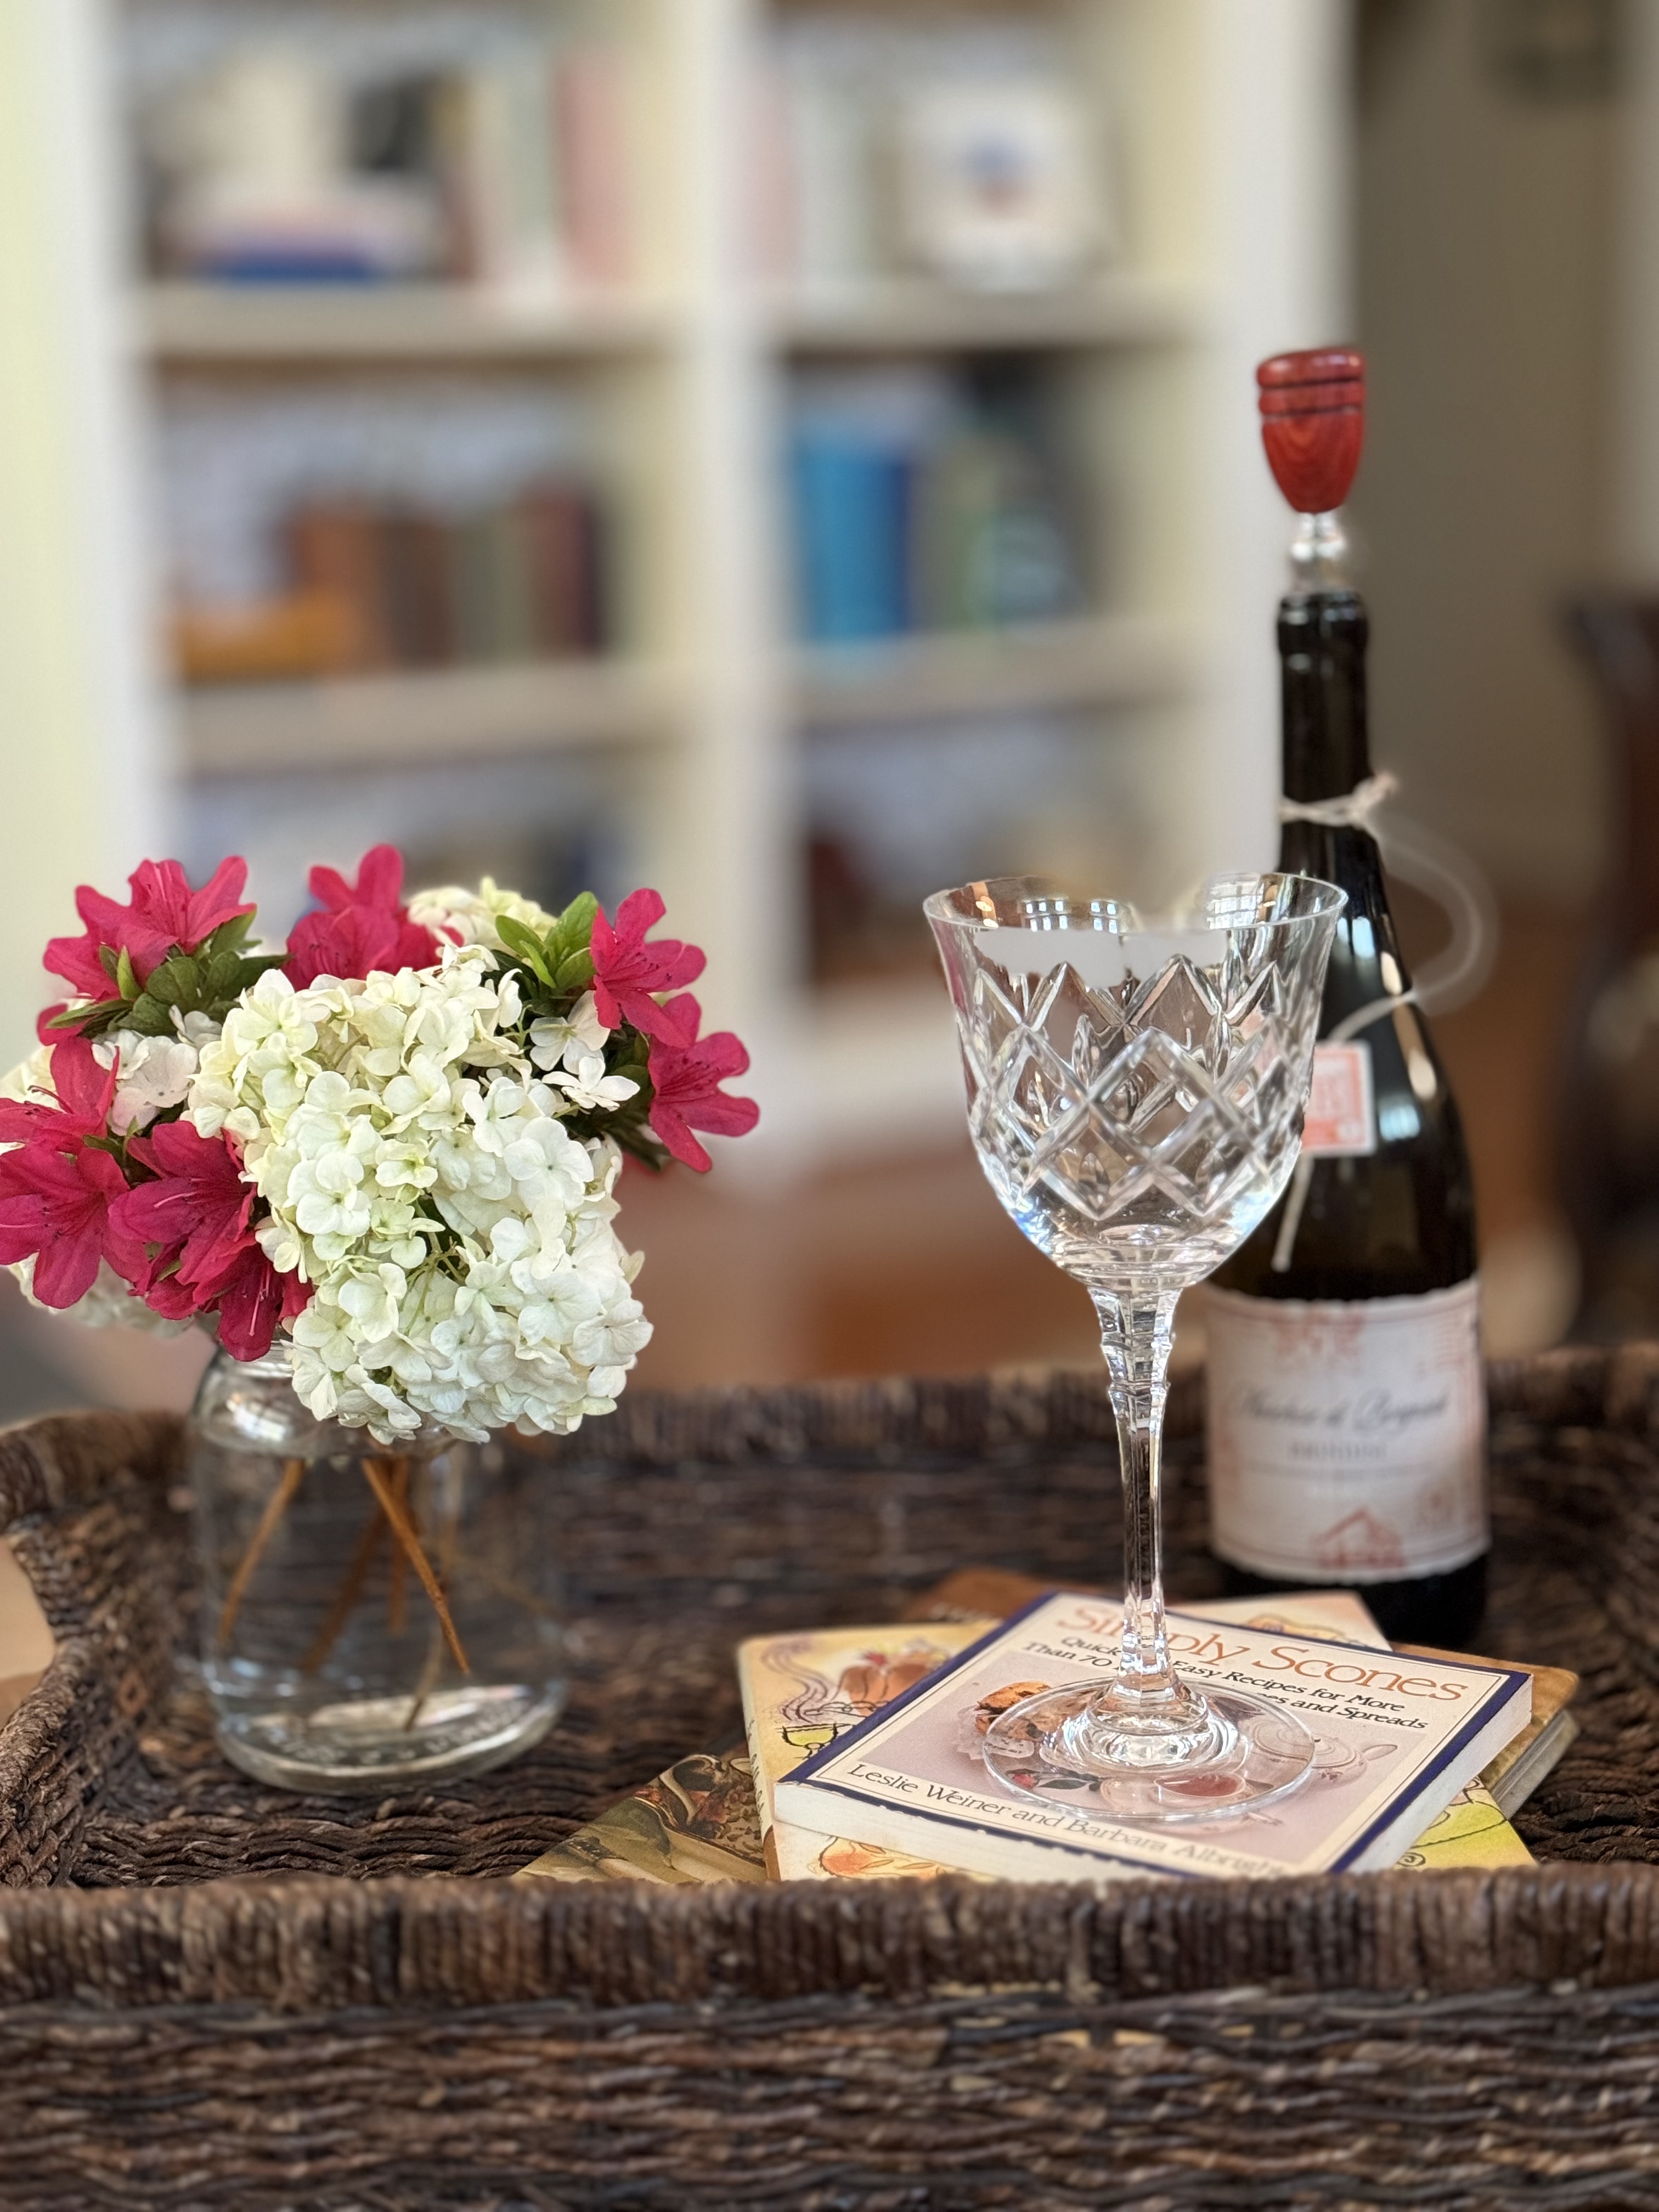
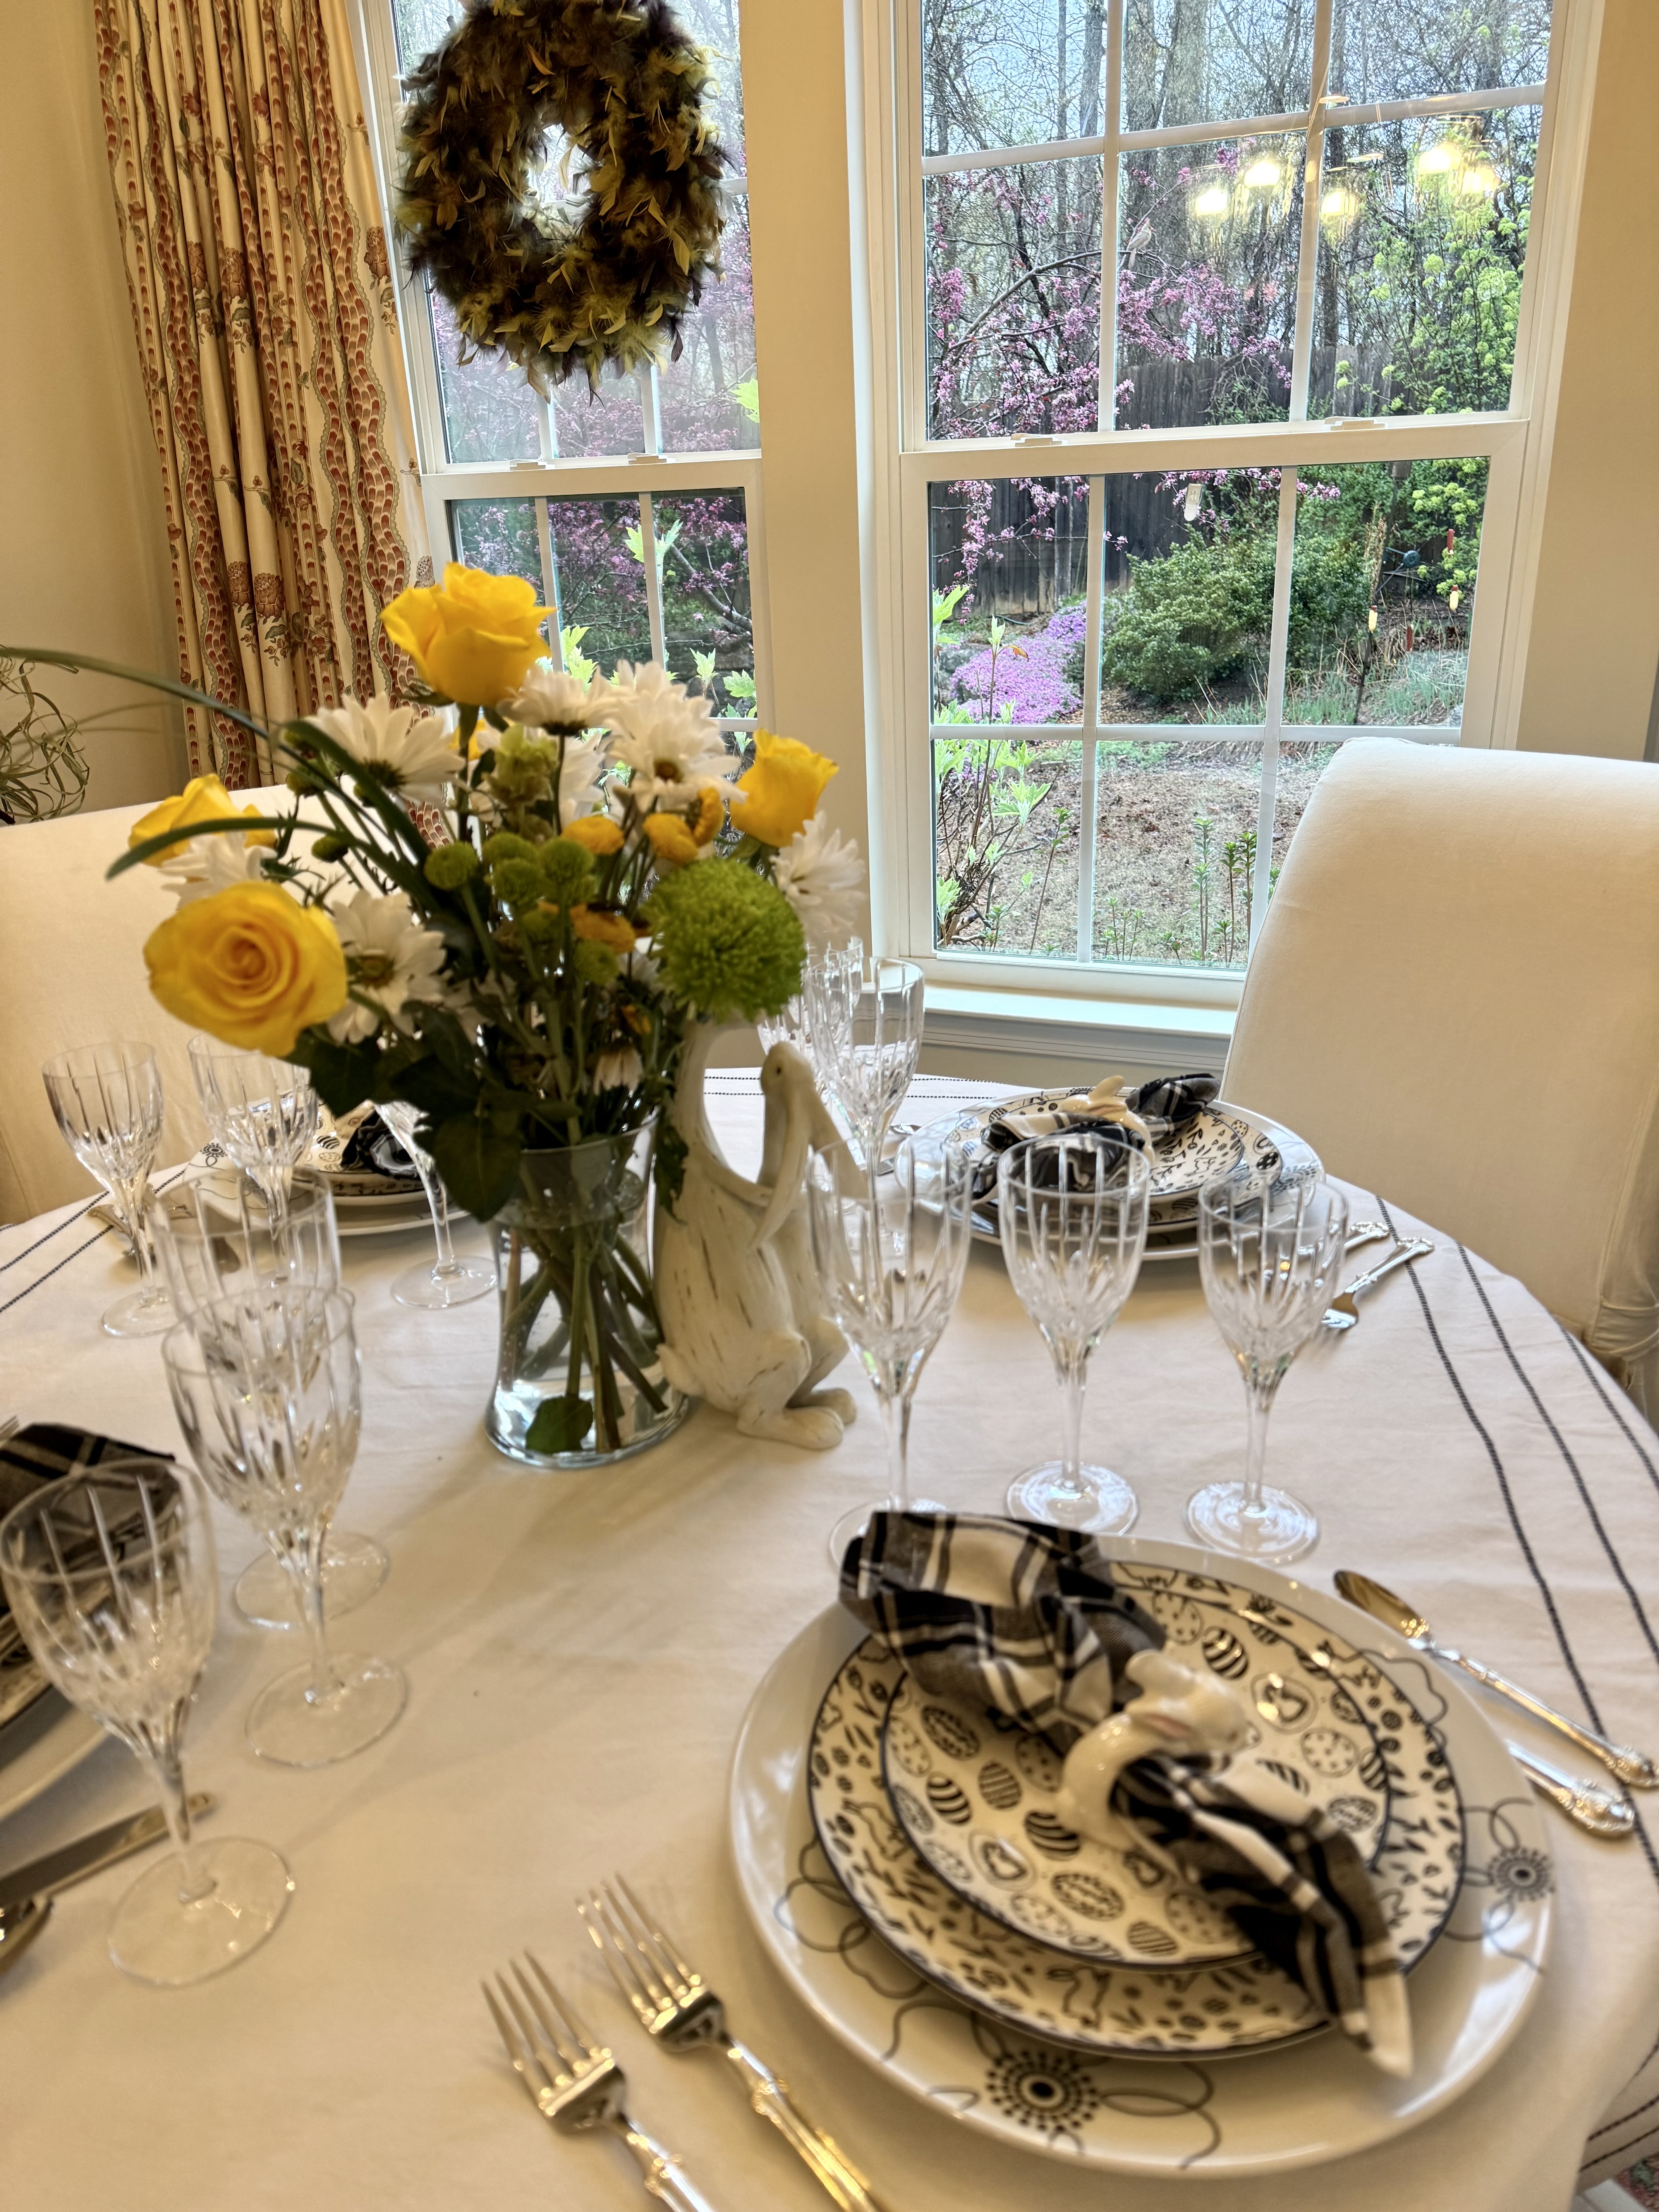
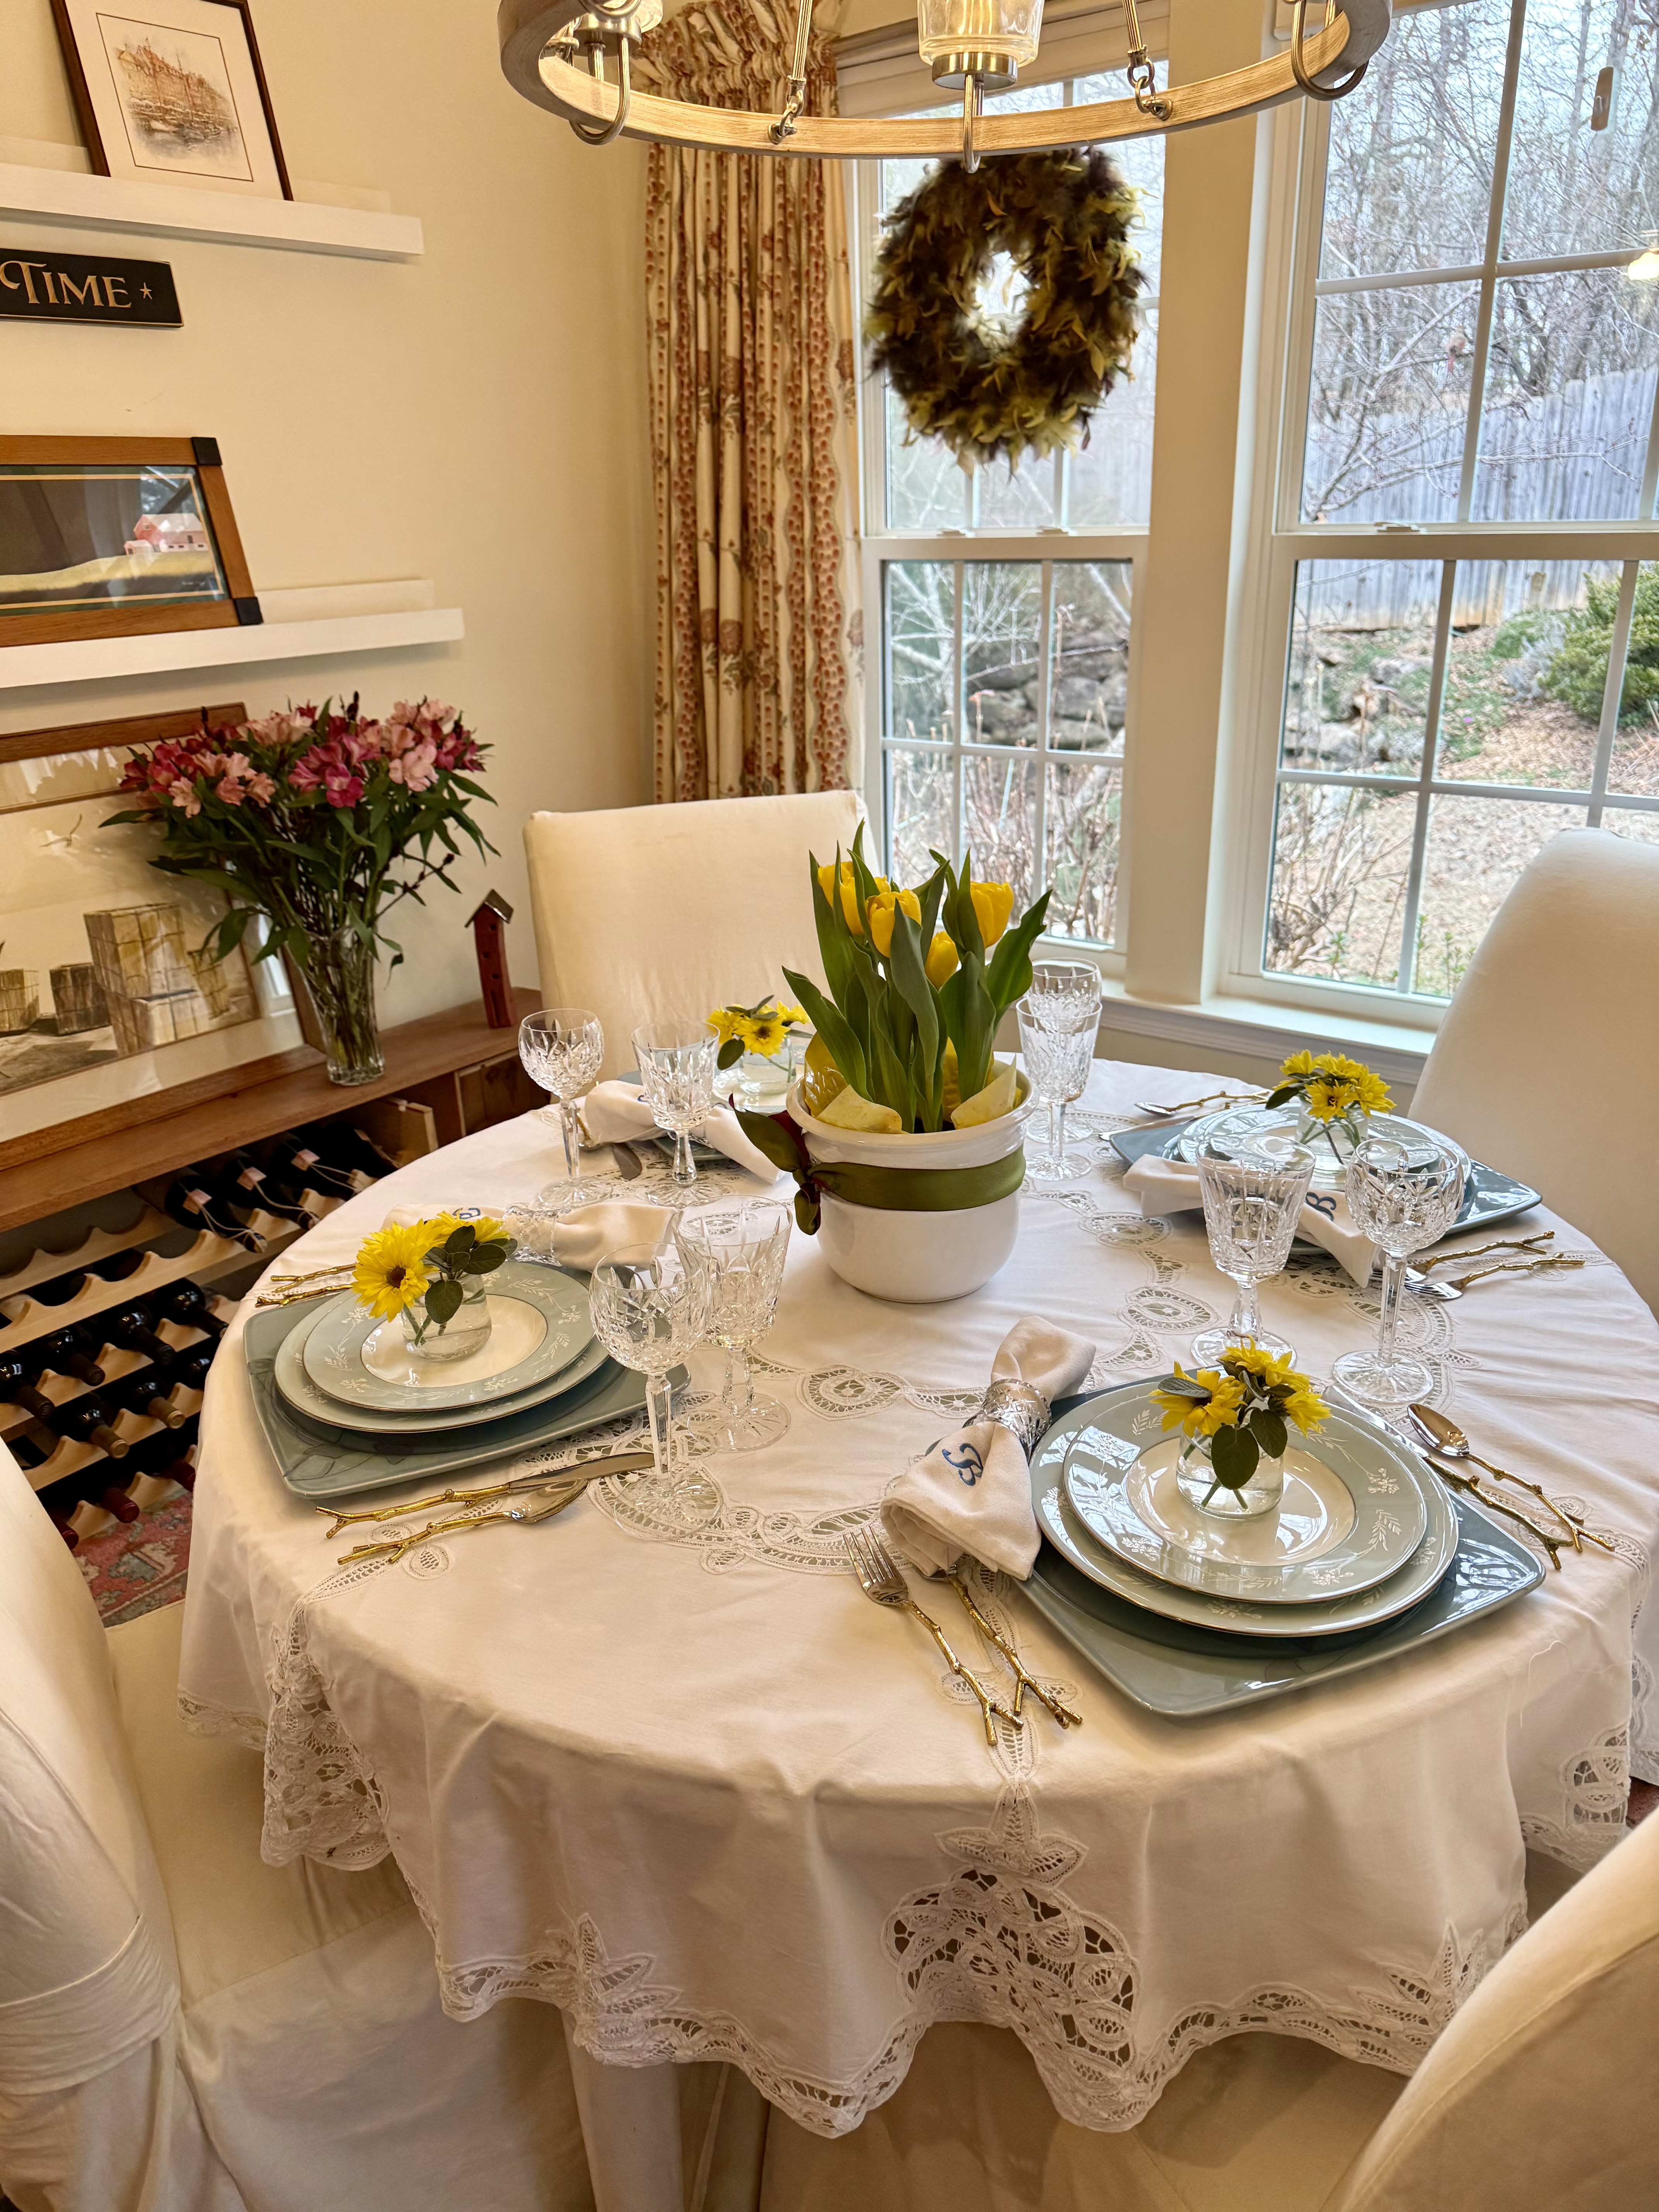
Welcome to the Blog today, Friends. I’m so happy you’re here today to share a lovely spring brunch with me. Yesterday, we joined some good…
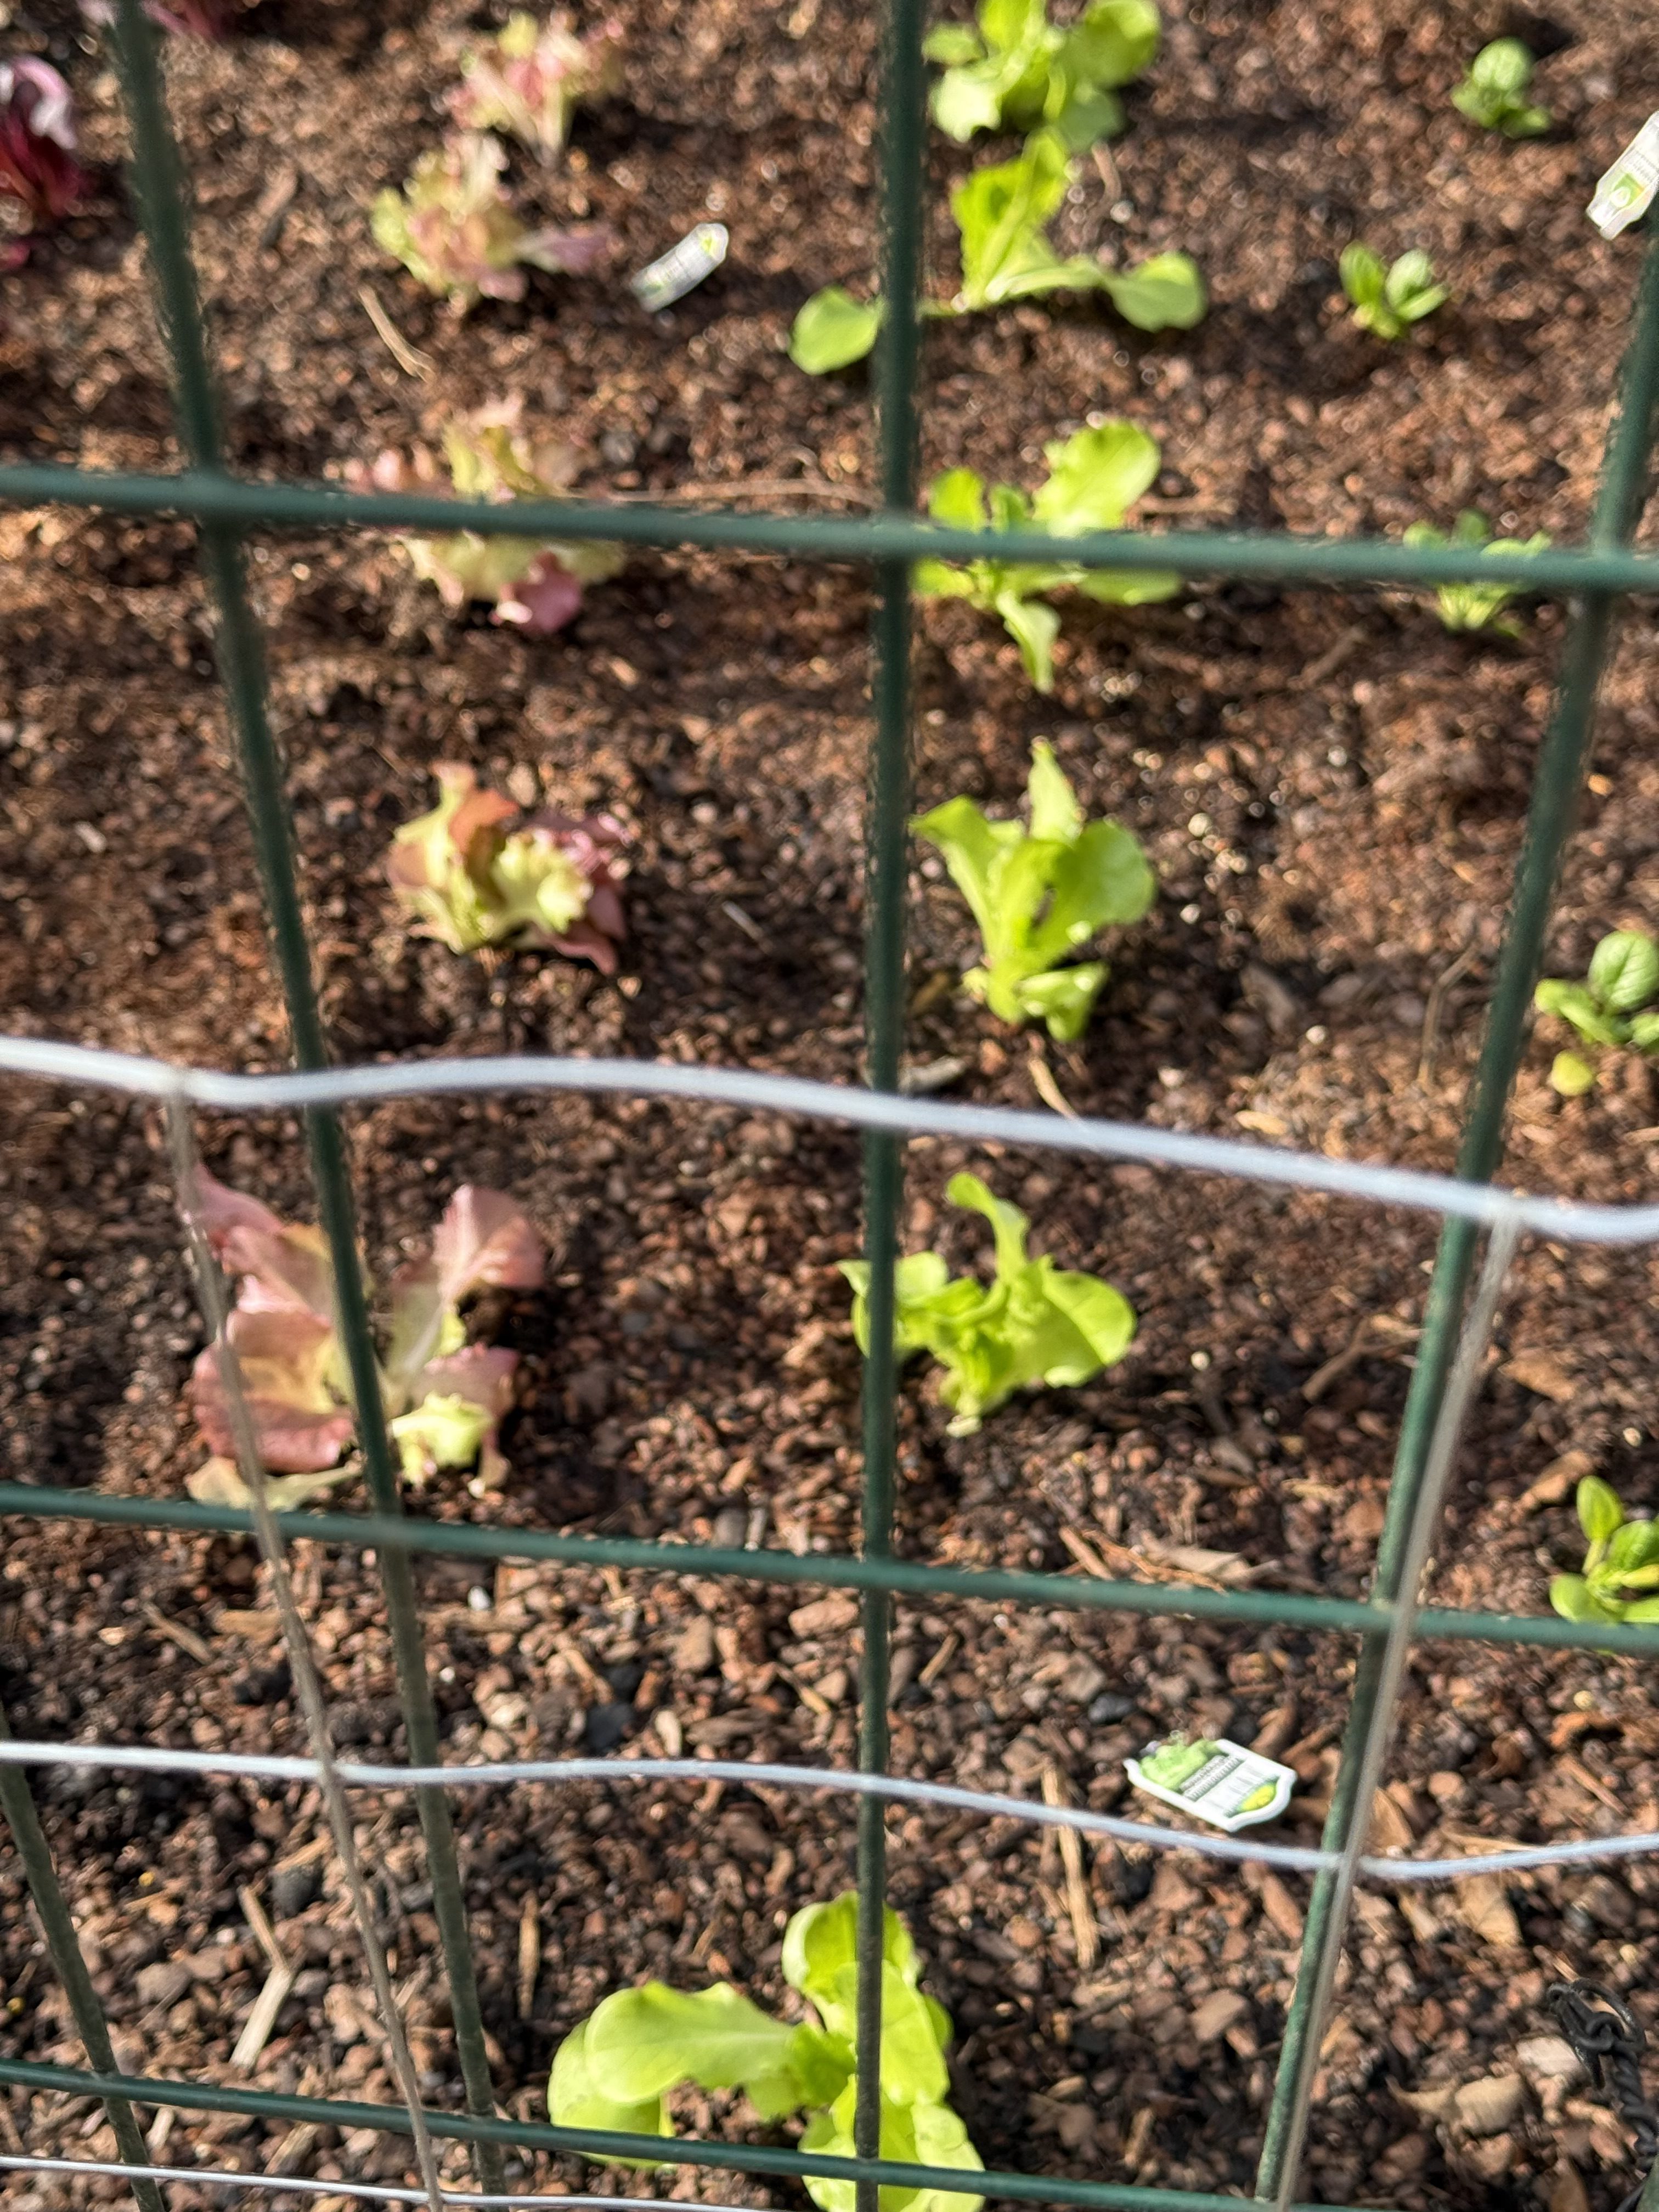
Welcome to the Blog today, Friends! One of my favorite posts to write all year is the very first garden post of the spring season.…
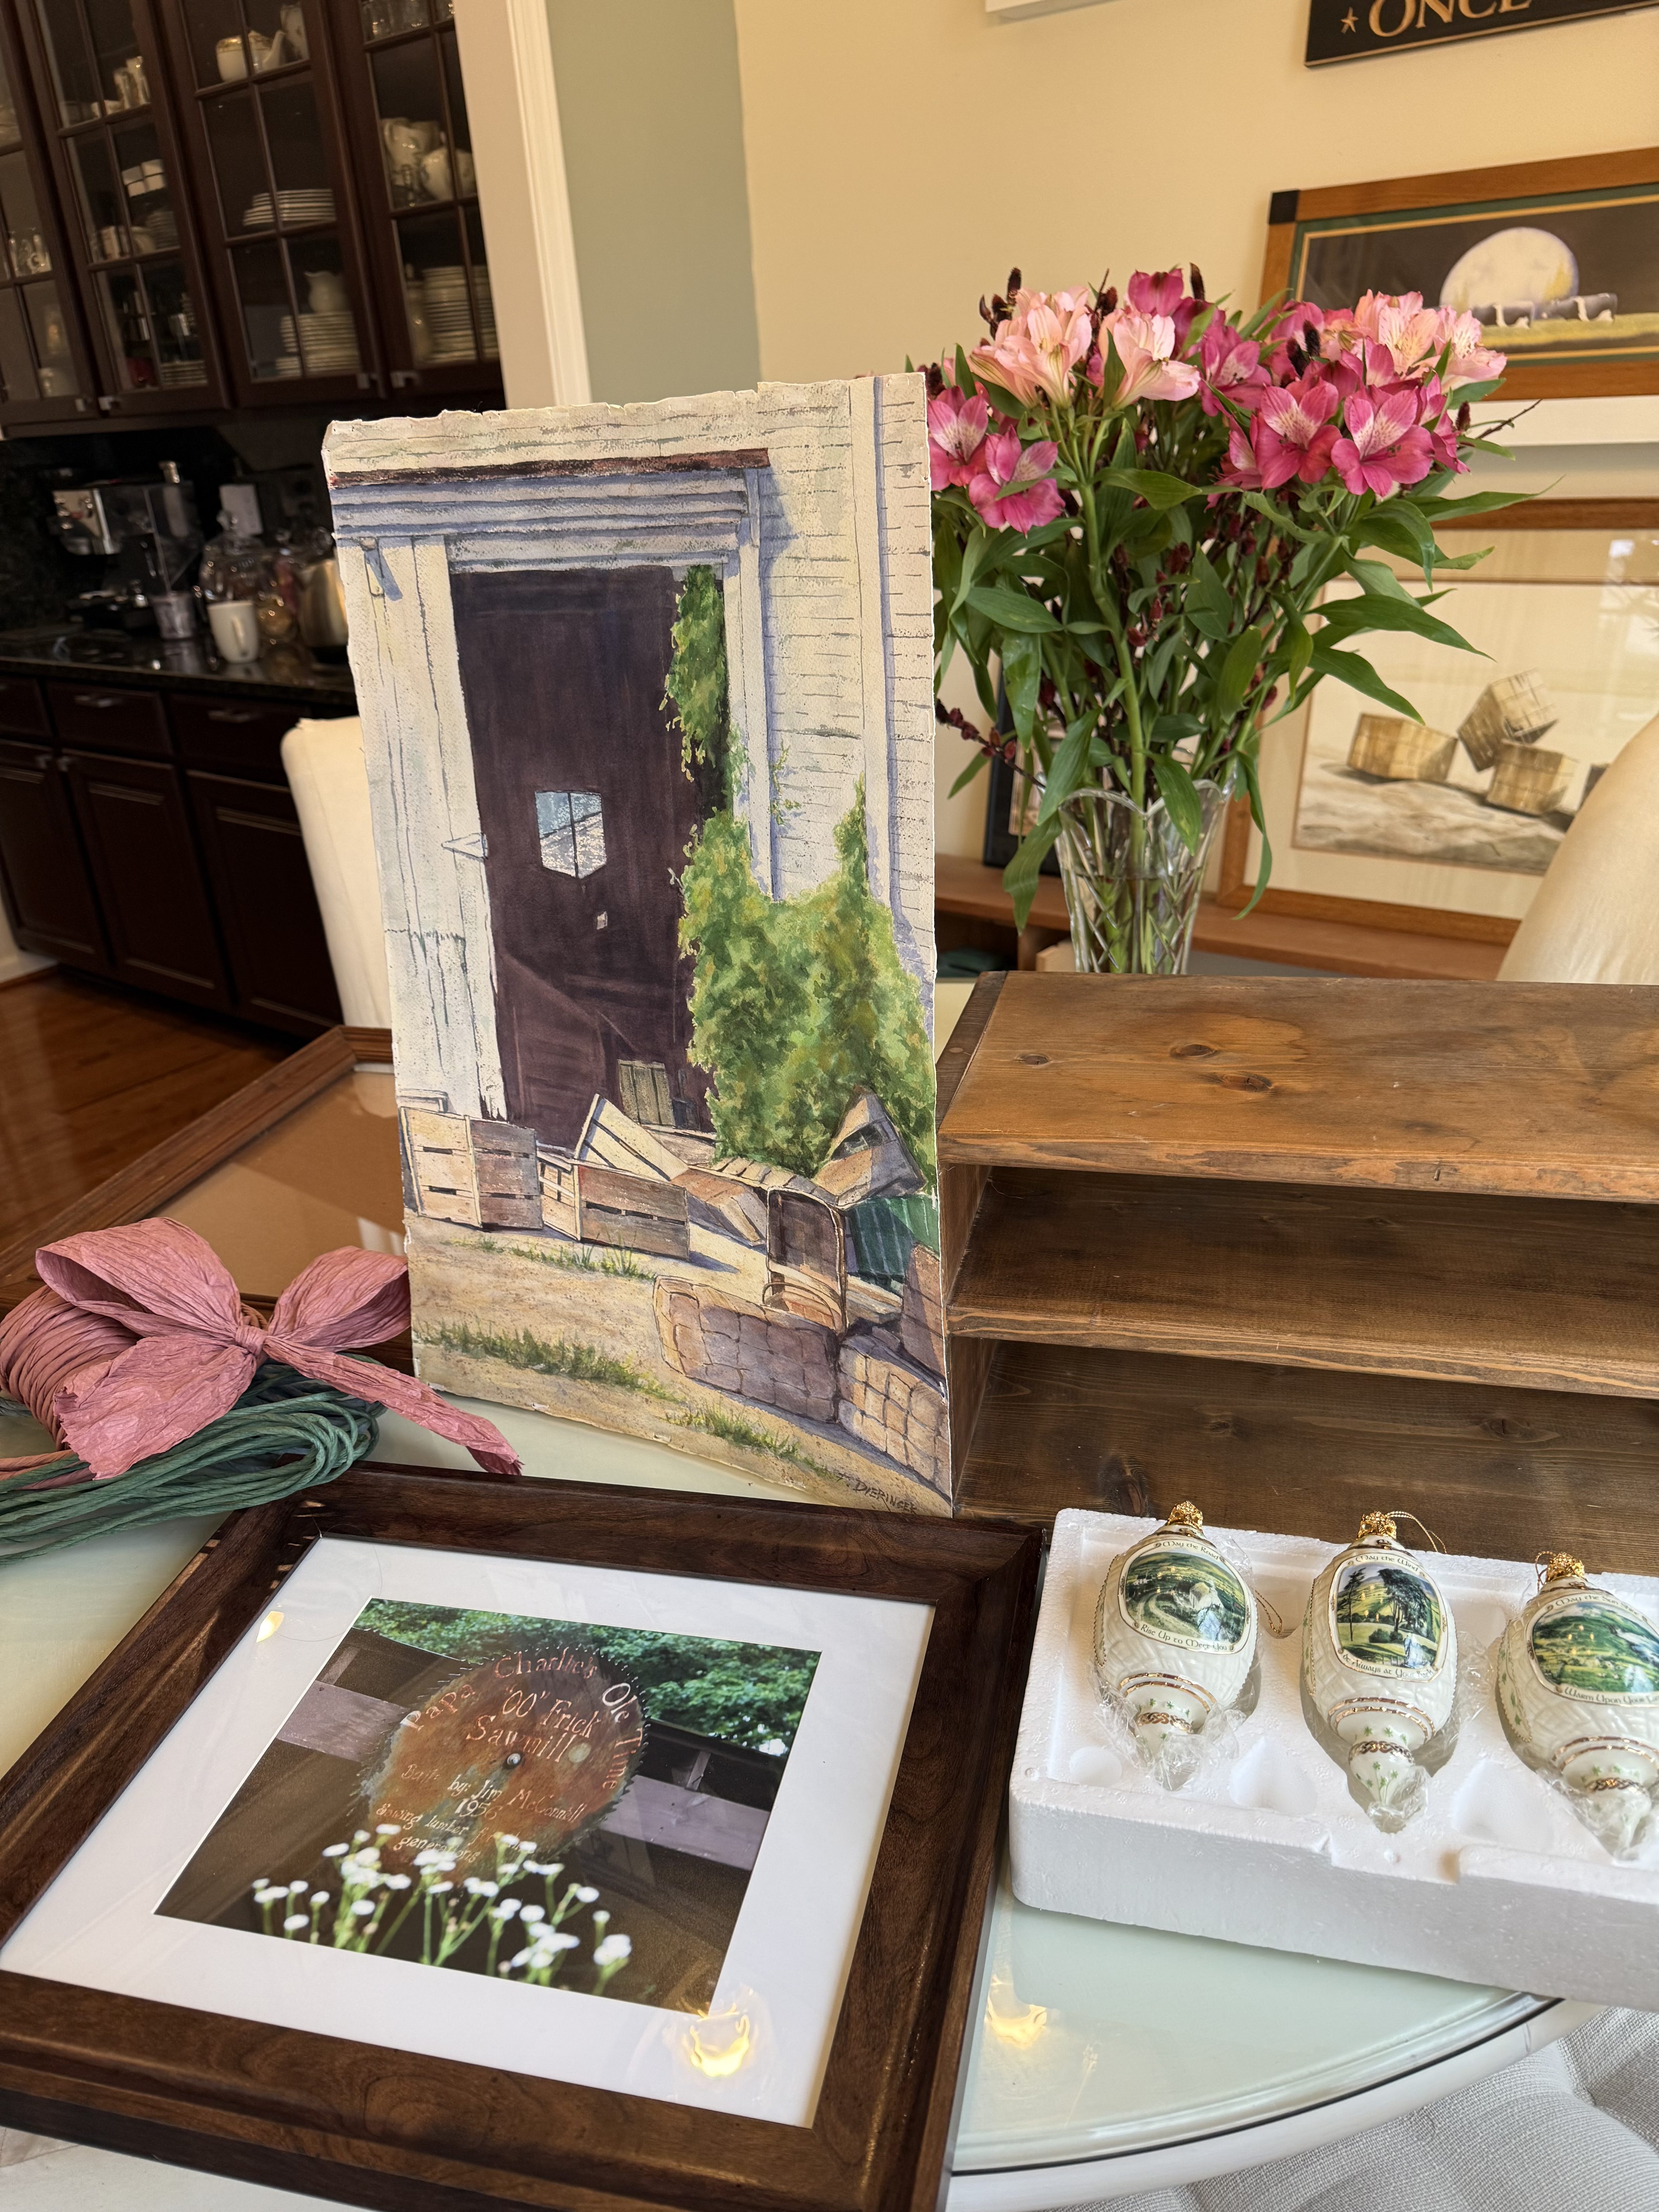
Welcome to the Blog today, Friends! Today I’m sharing a SUPER find that happened at Goodwill this week, and I truly wish you had been there to…
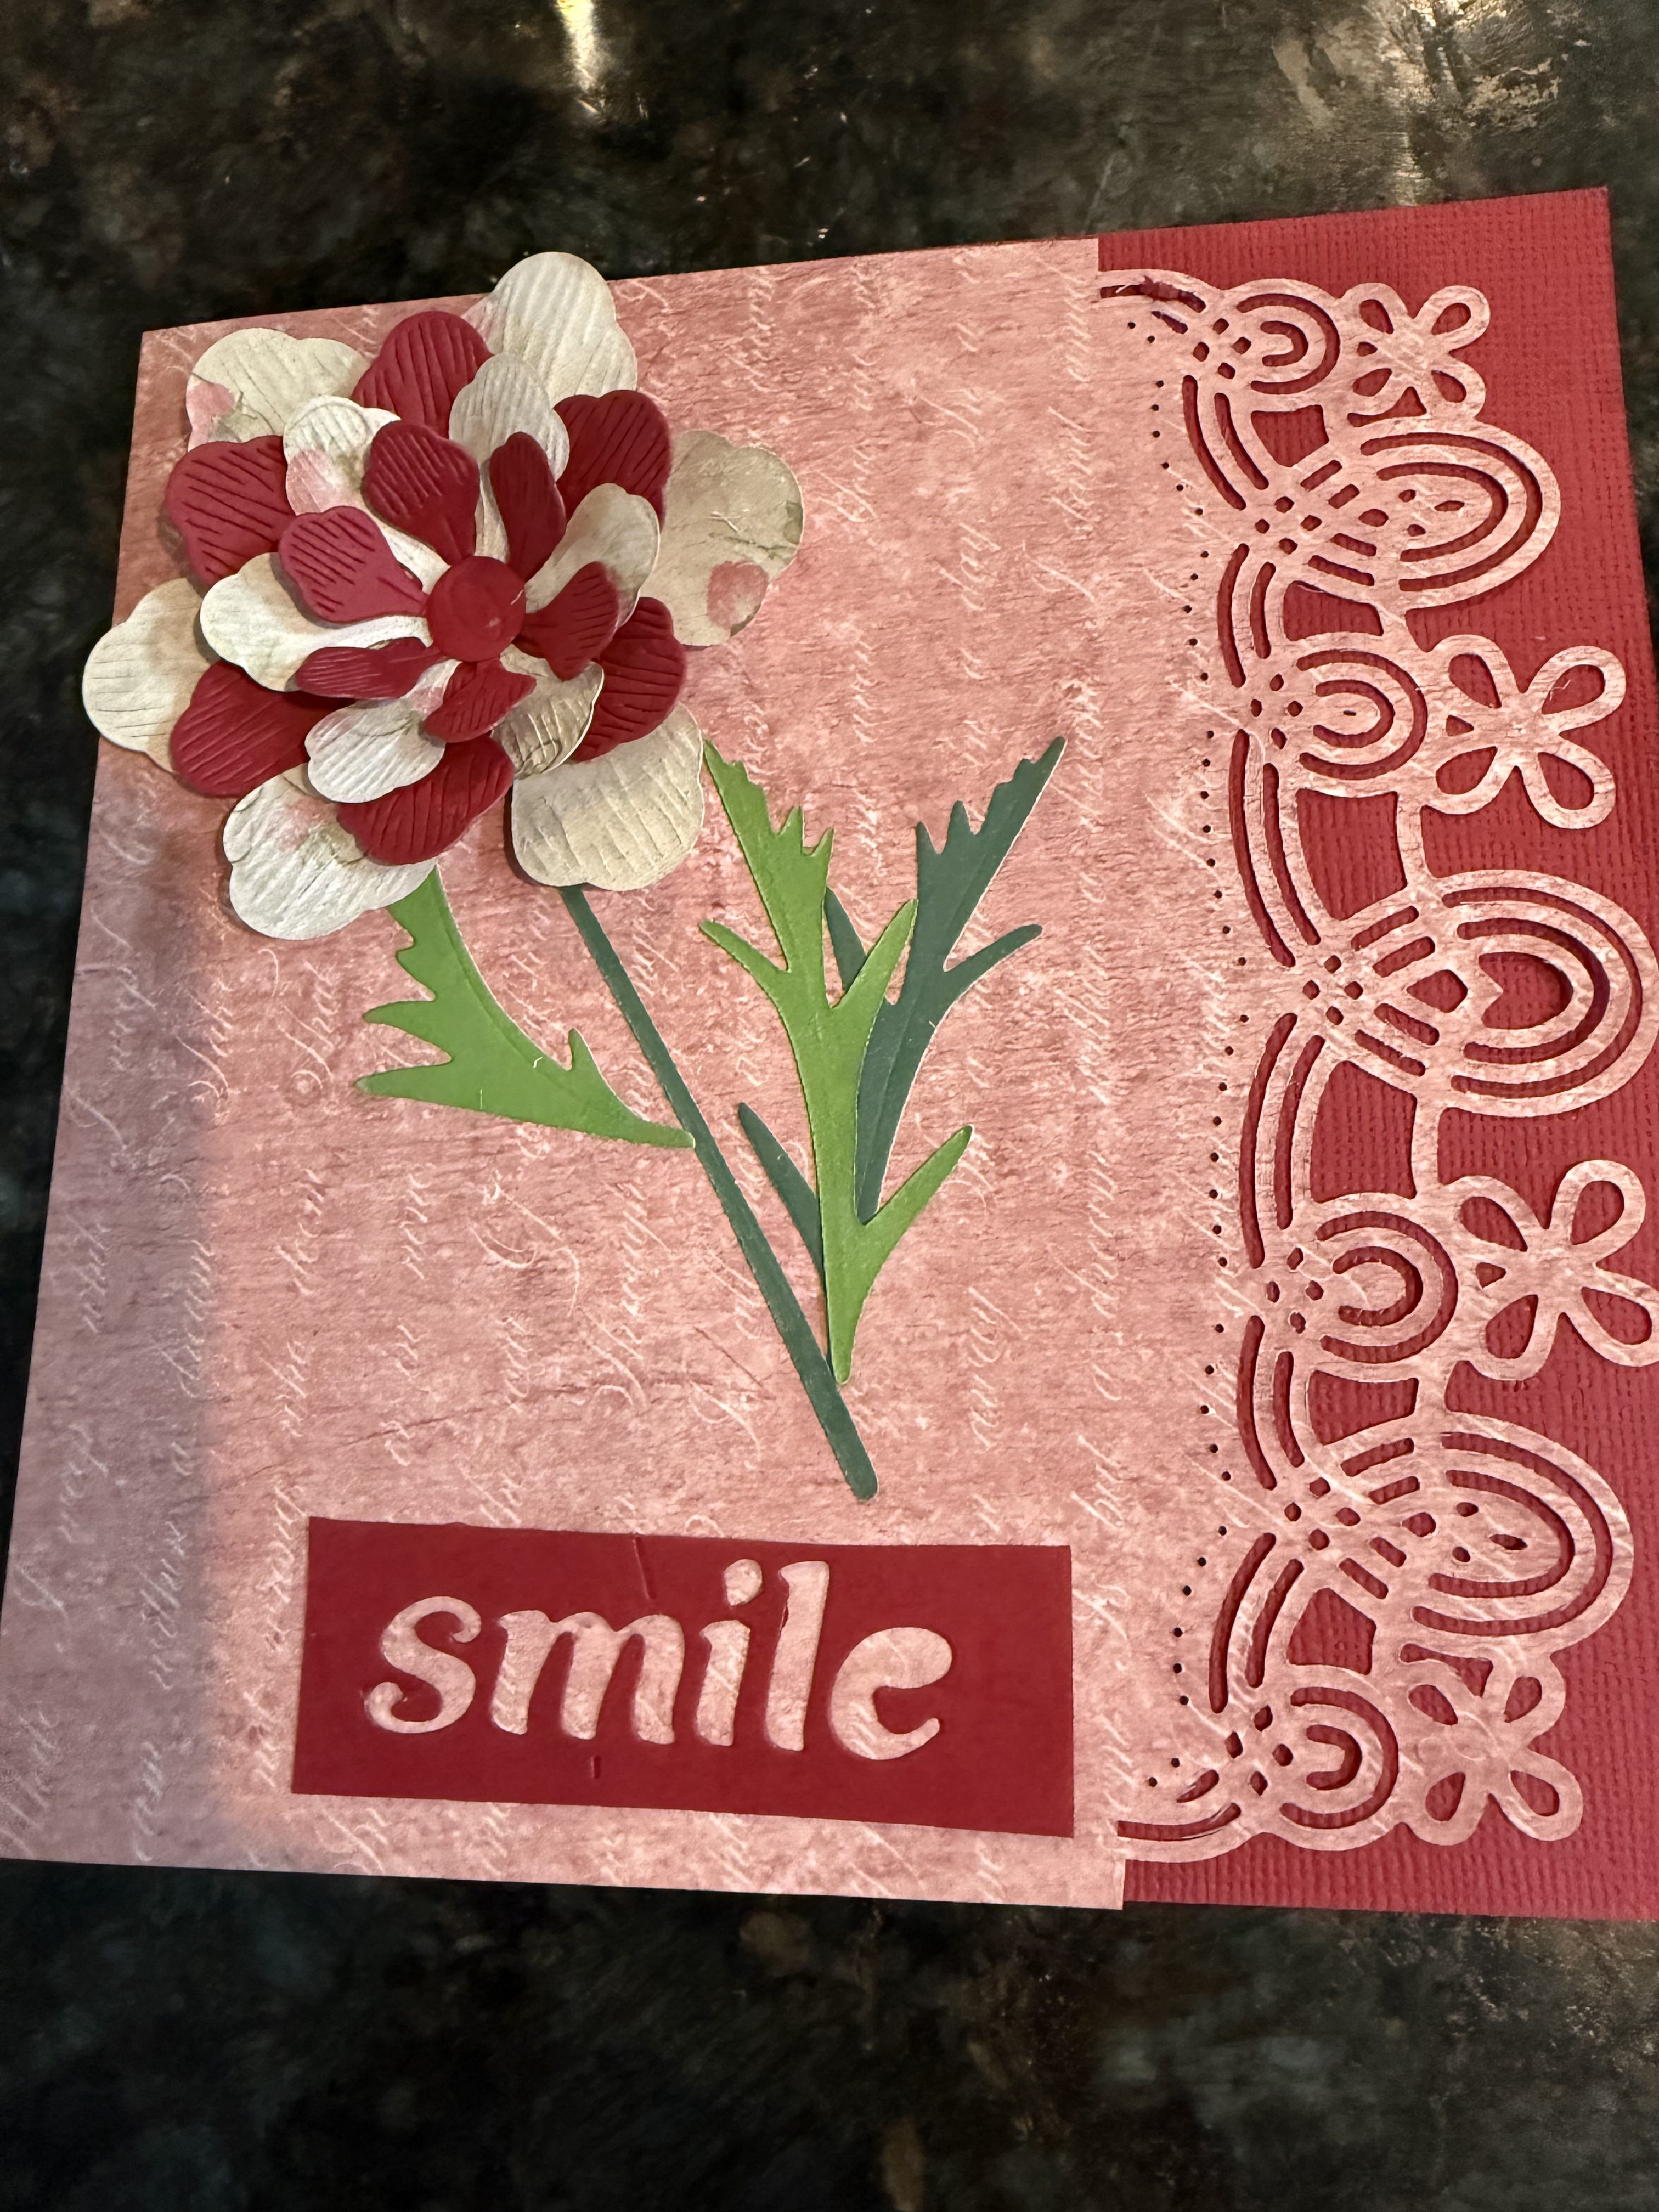
Welcome to the Blog today, Friends. I have two fun crafting projects to share with you today, both of which began with a few simple…
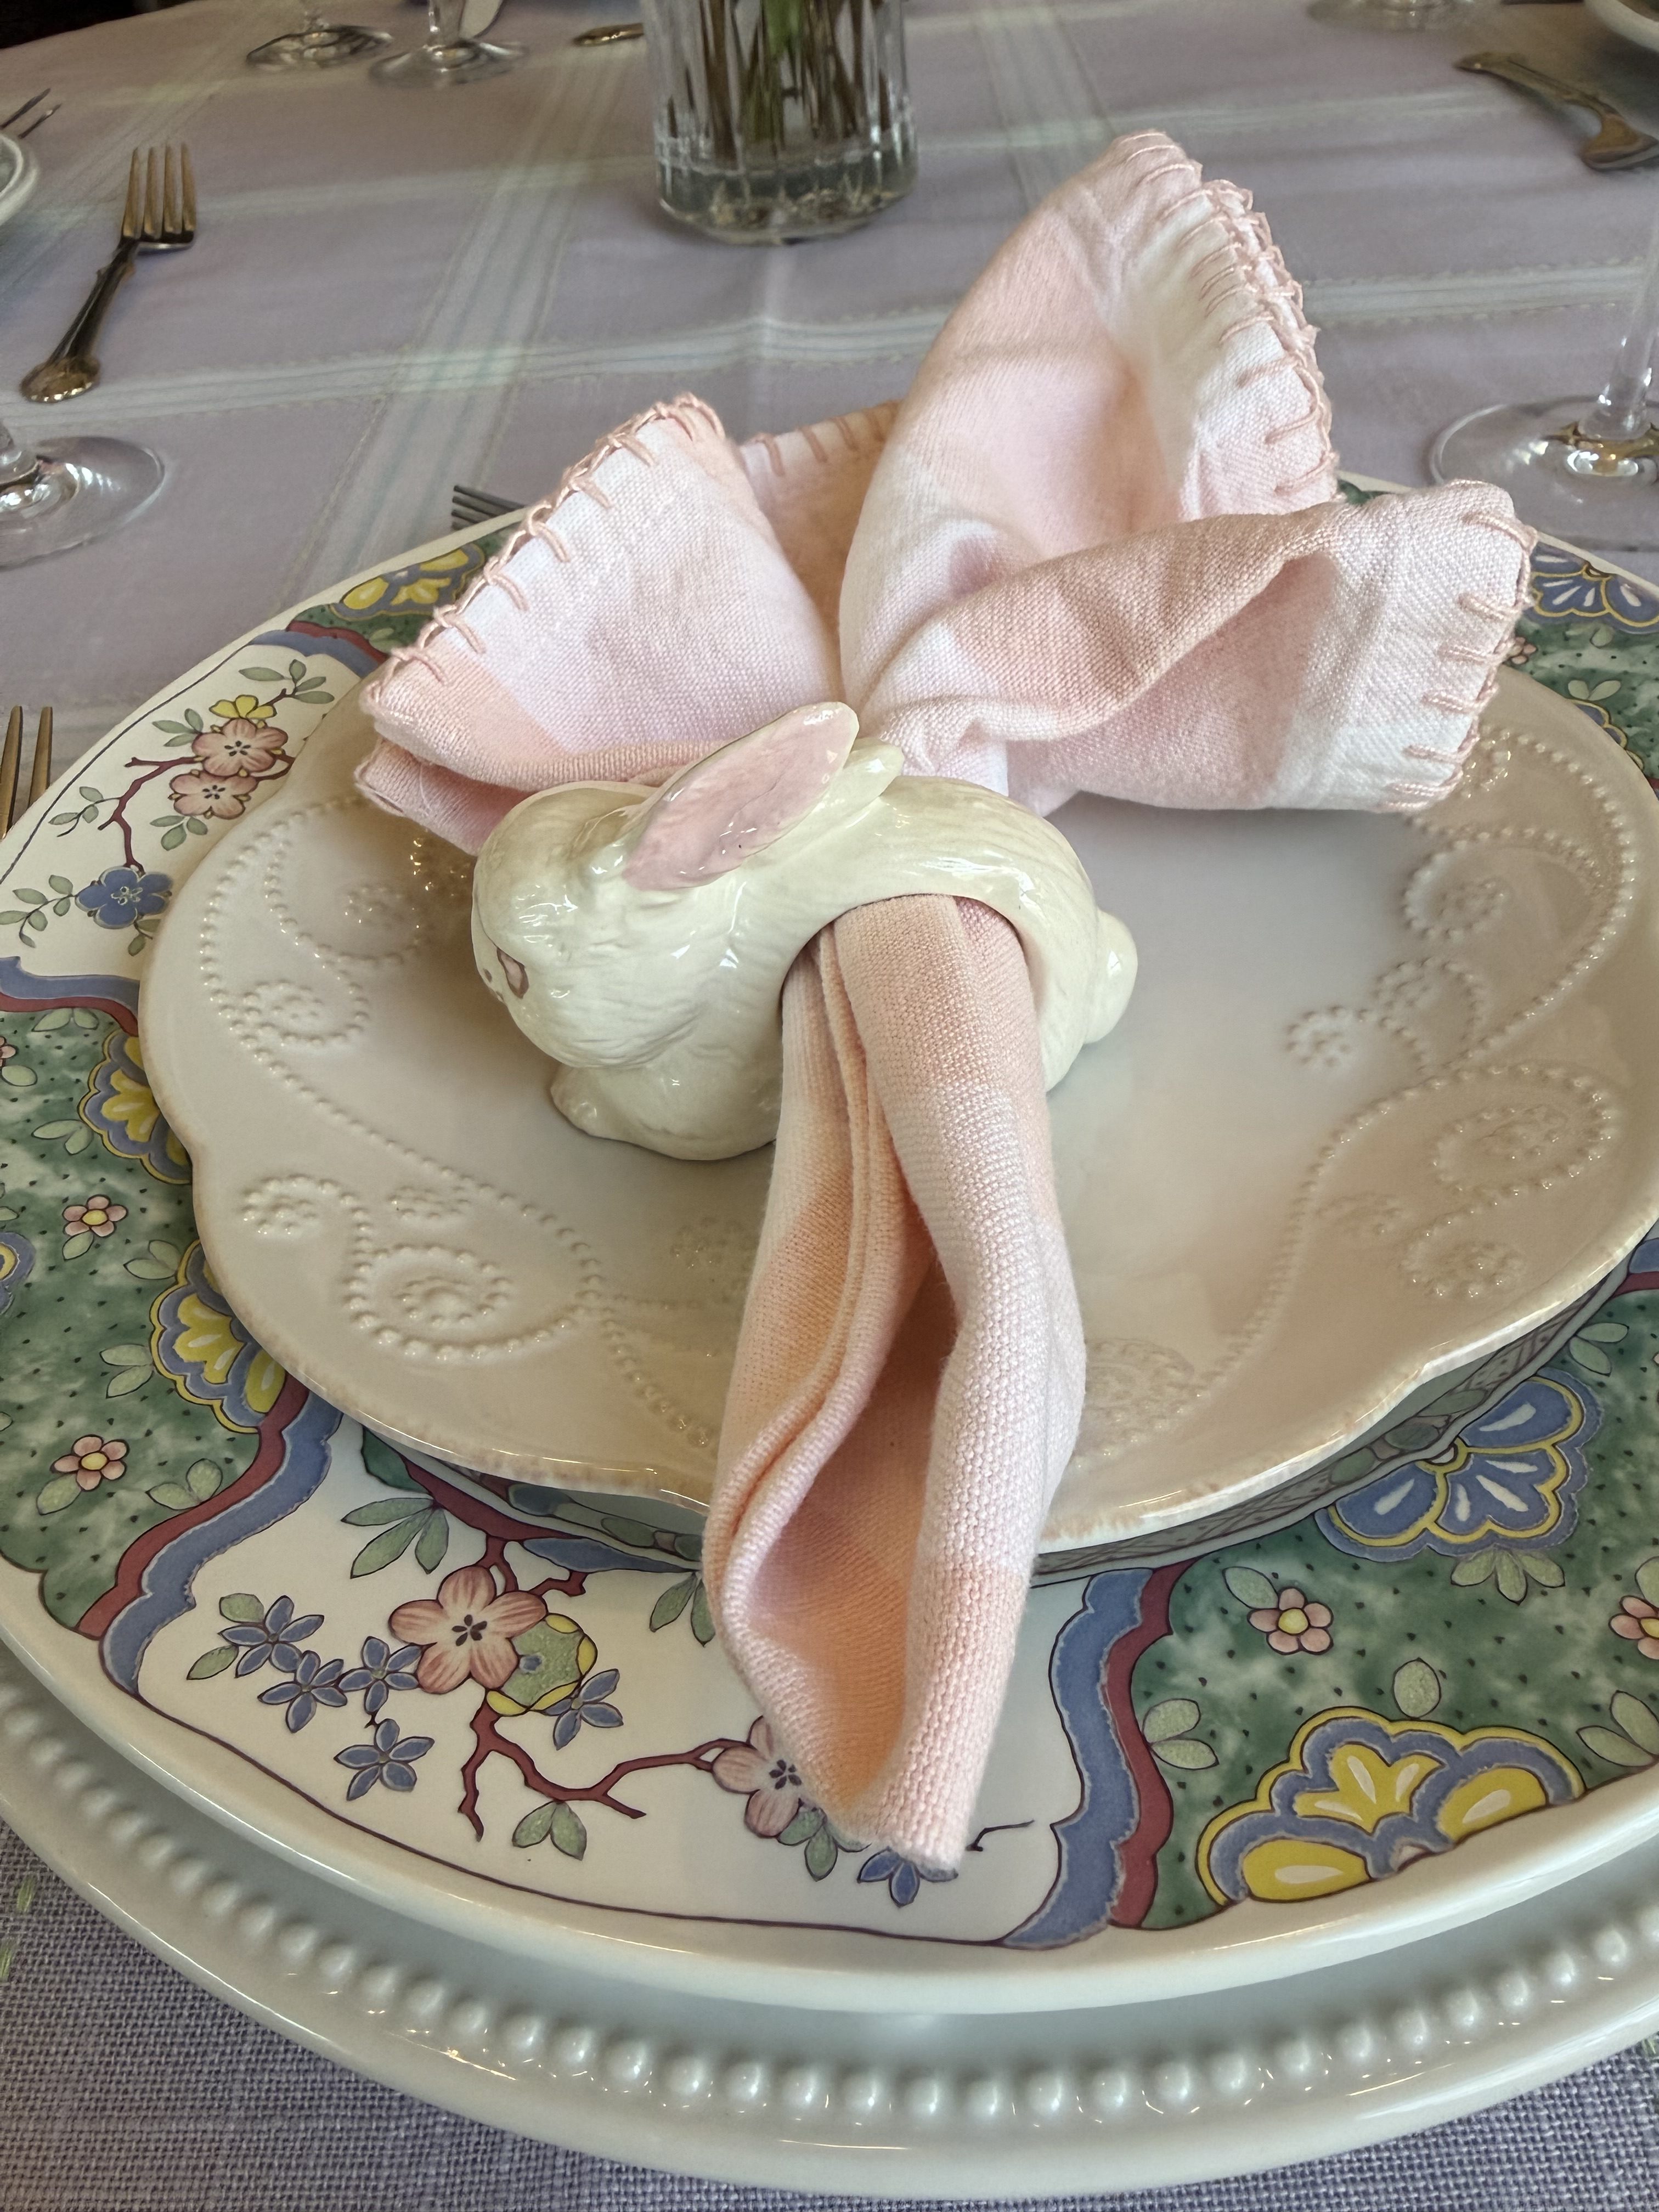
Welcome to the Blog today, Friends. Today I’m joining a wonderful group of talented bloggers as we share ideas for Spring and Easter tablescapes. Rita from…
Welcome to the Blog today, Friends! 🤍 Oh, I just love those spontaneous little thrift runs, don’t you? The kind where you pop in “just…
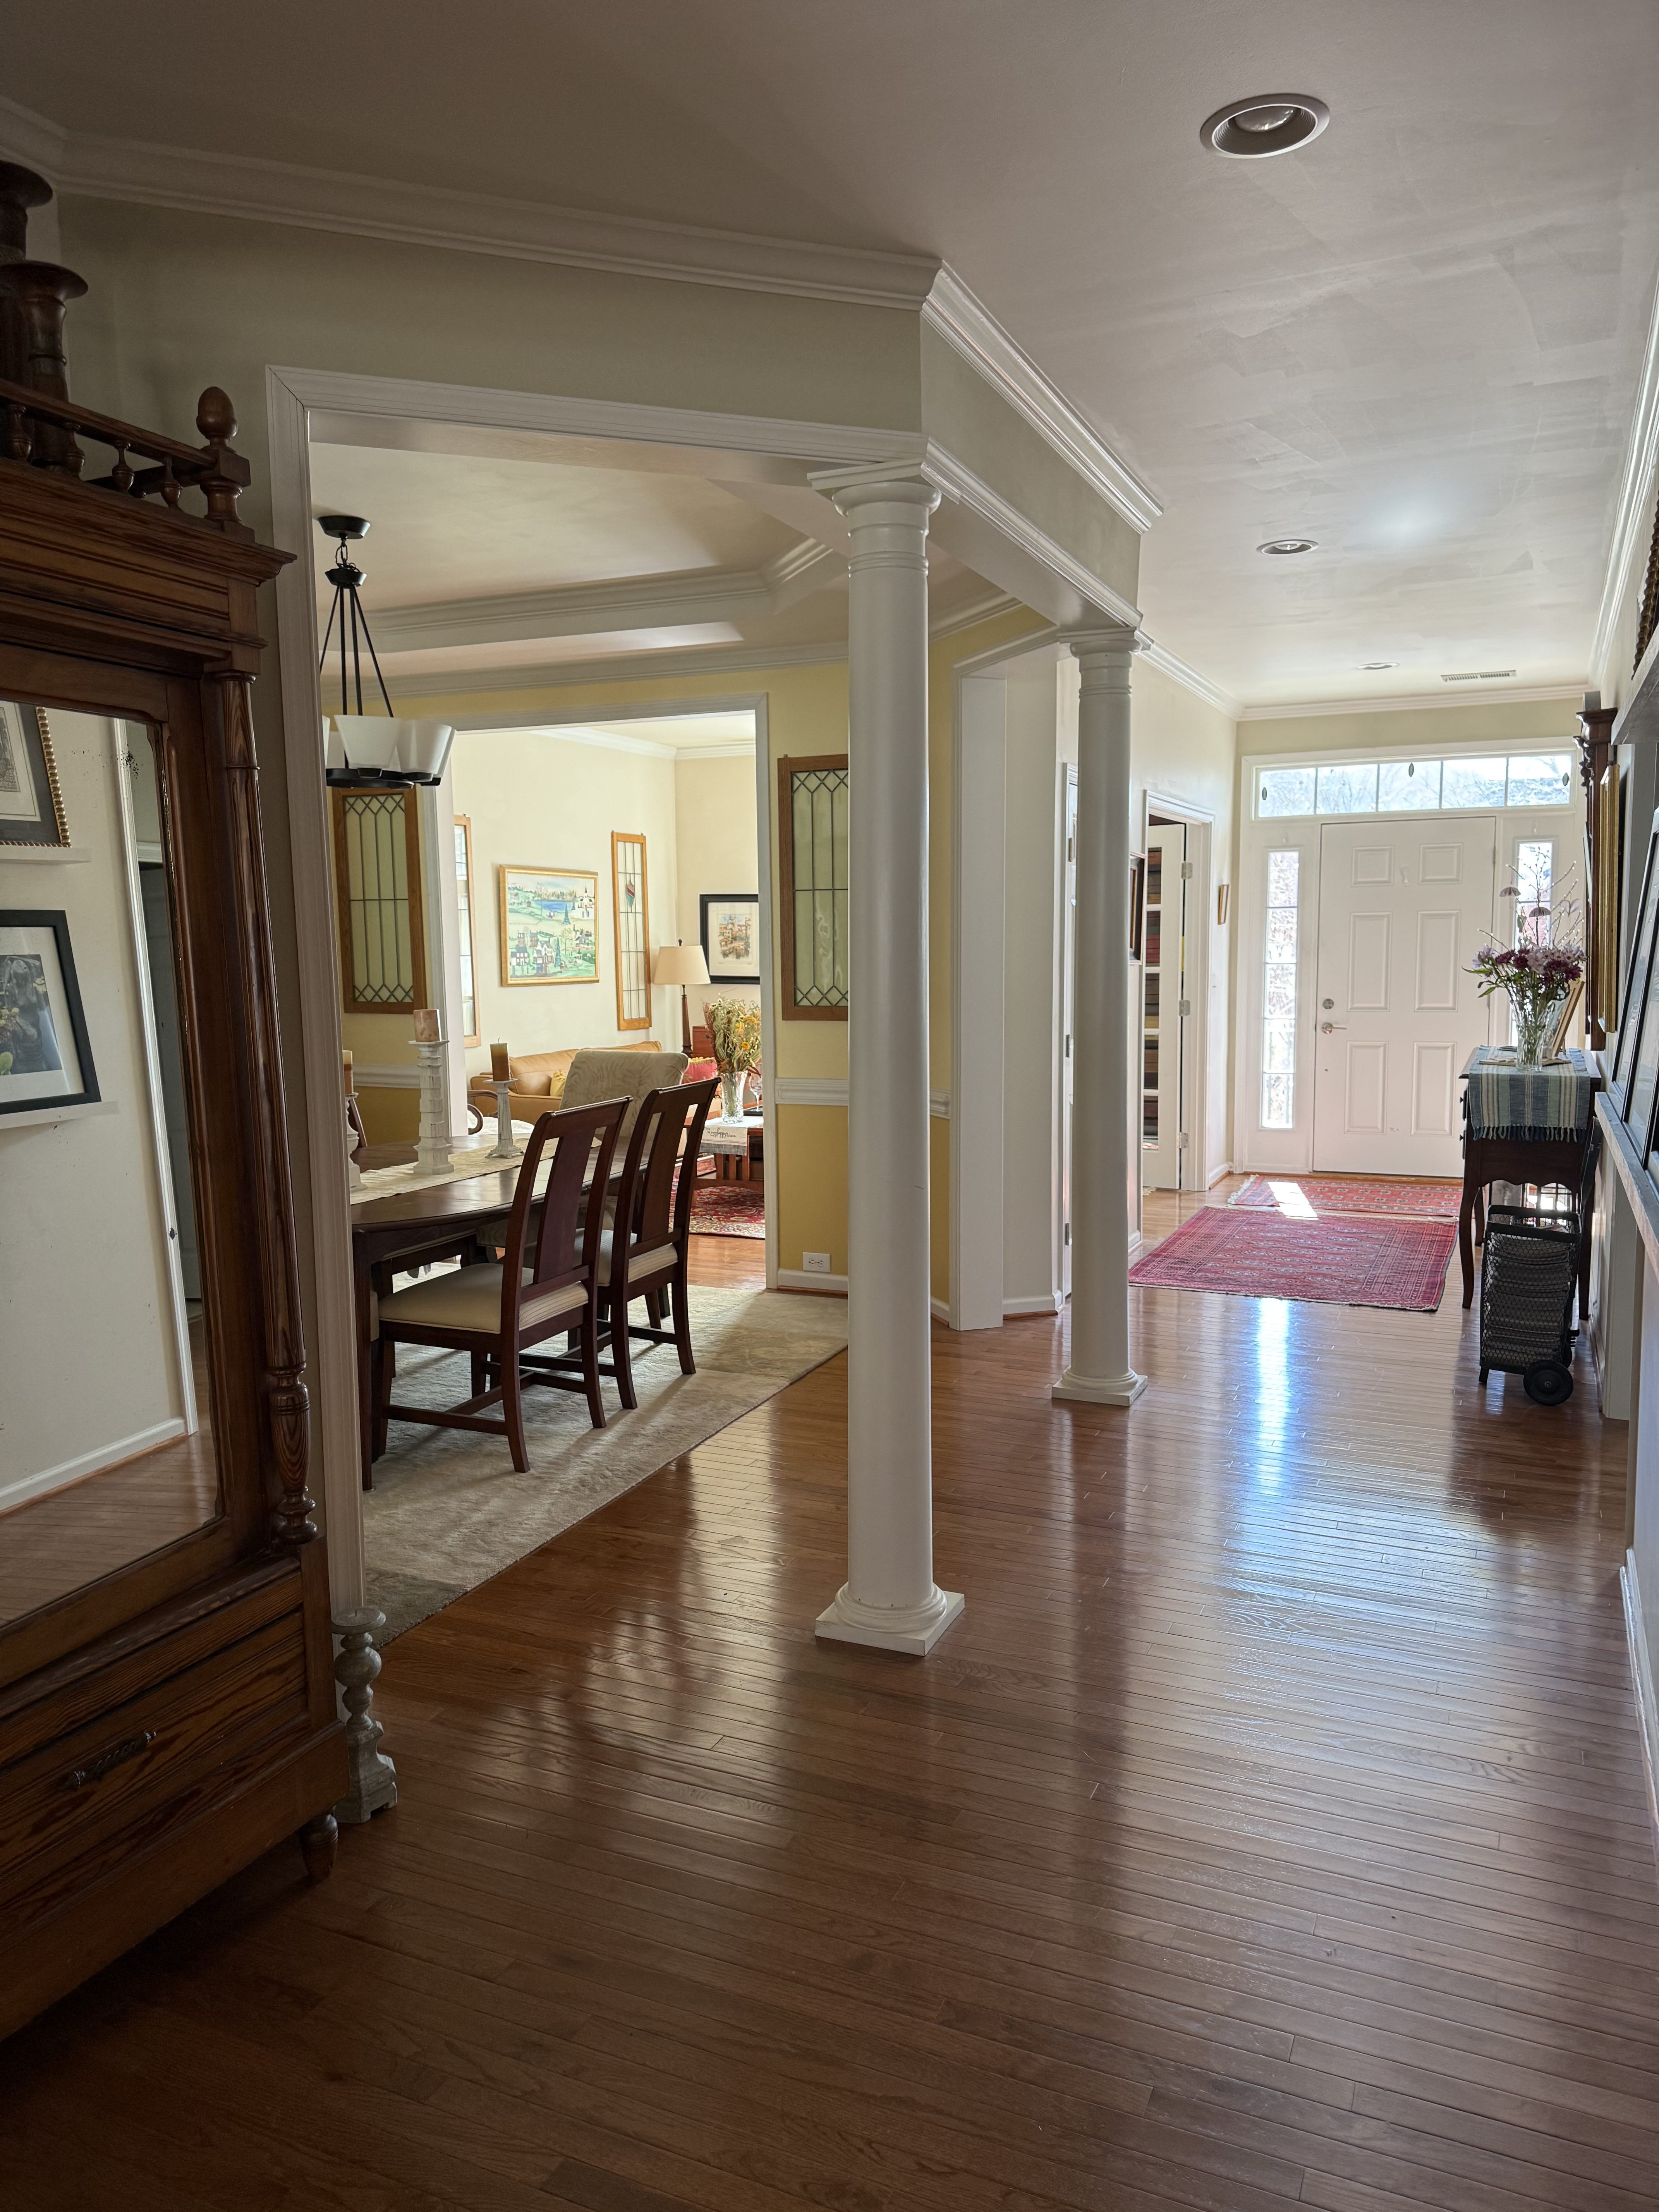
Welcome to the Blog today, Friends! I’m so glad you’re here because today I get to share something especially exciting — the changes we’ve made…