Thrifting Finds for Spring Kitchen Styling
Welcome to the Blog today, Friends. There’s something so special about a simple find that sparks a whole idea, isn’t there? A little piece tucked…

Thrifting the Upstate
Welcome to the Blog today, Friends. There’s something so special about a simple find that sparks a whole idea, isn’t there? A little piece tucked…
Welcome to the Blog today, Friends. Thrifting over the past couple of weeks has brought home a truly charming find—a collection of framed Victorian advertising…
Welcome to the Blog today, Friends. I’m so happy you’ve stopped by because today marks the beginning of one of my very favorite seasons of…
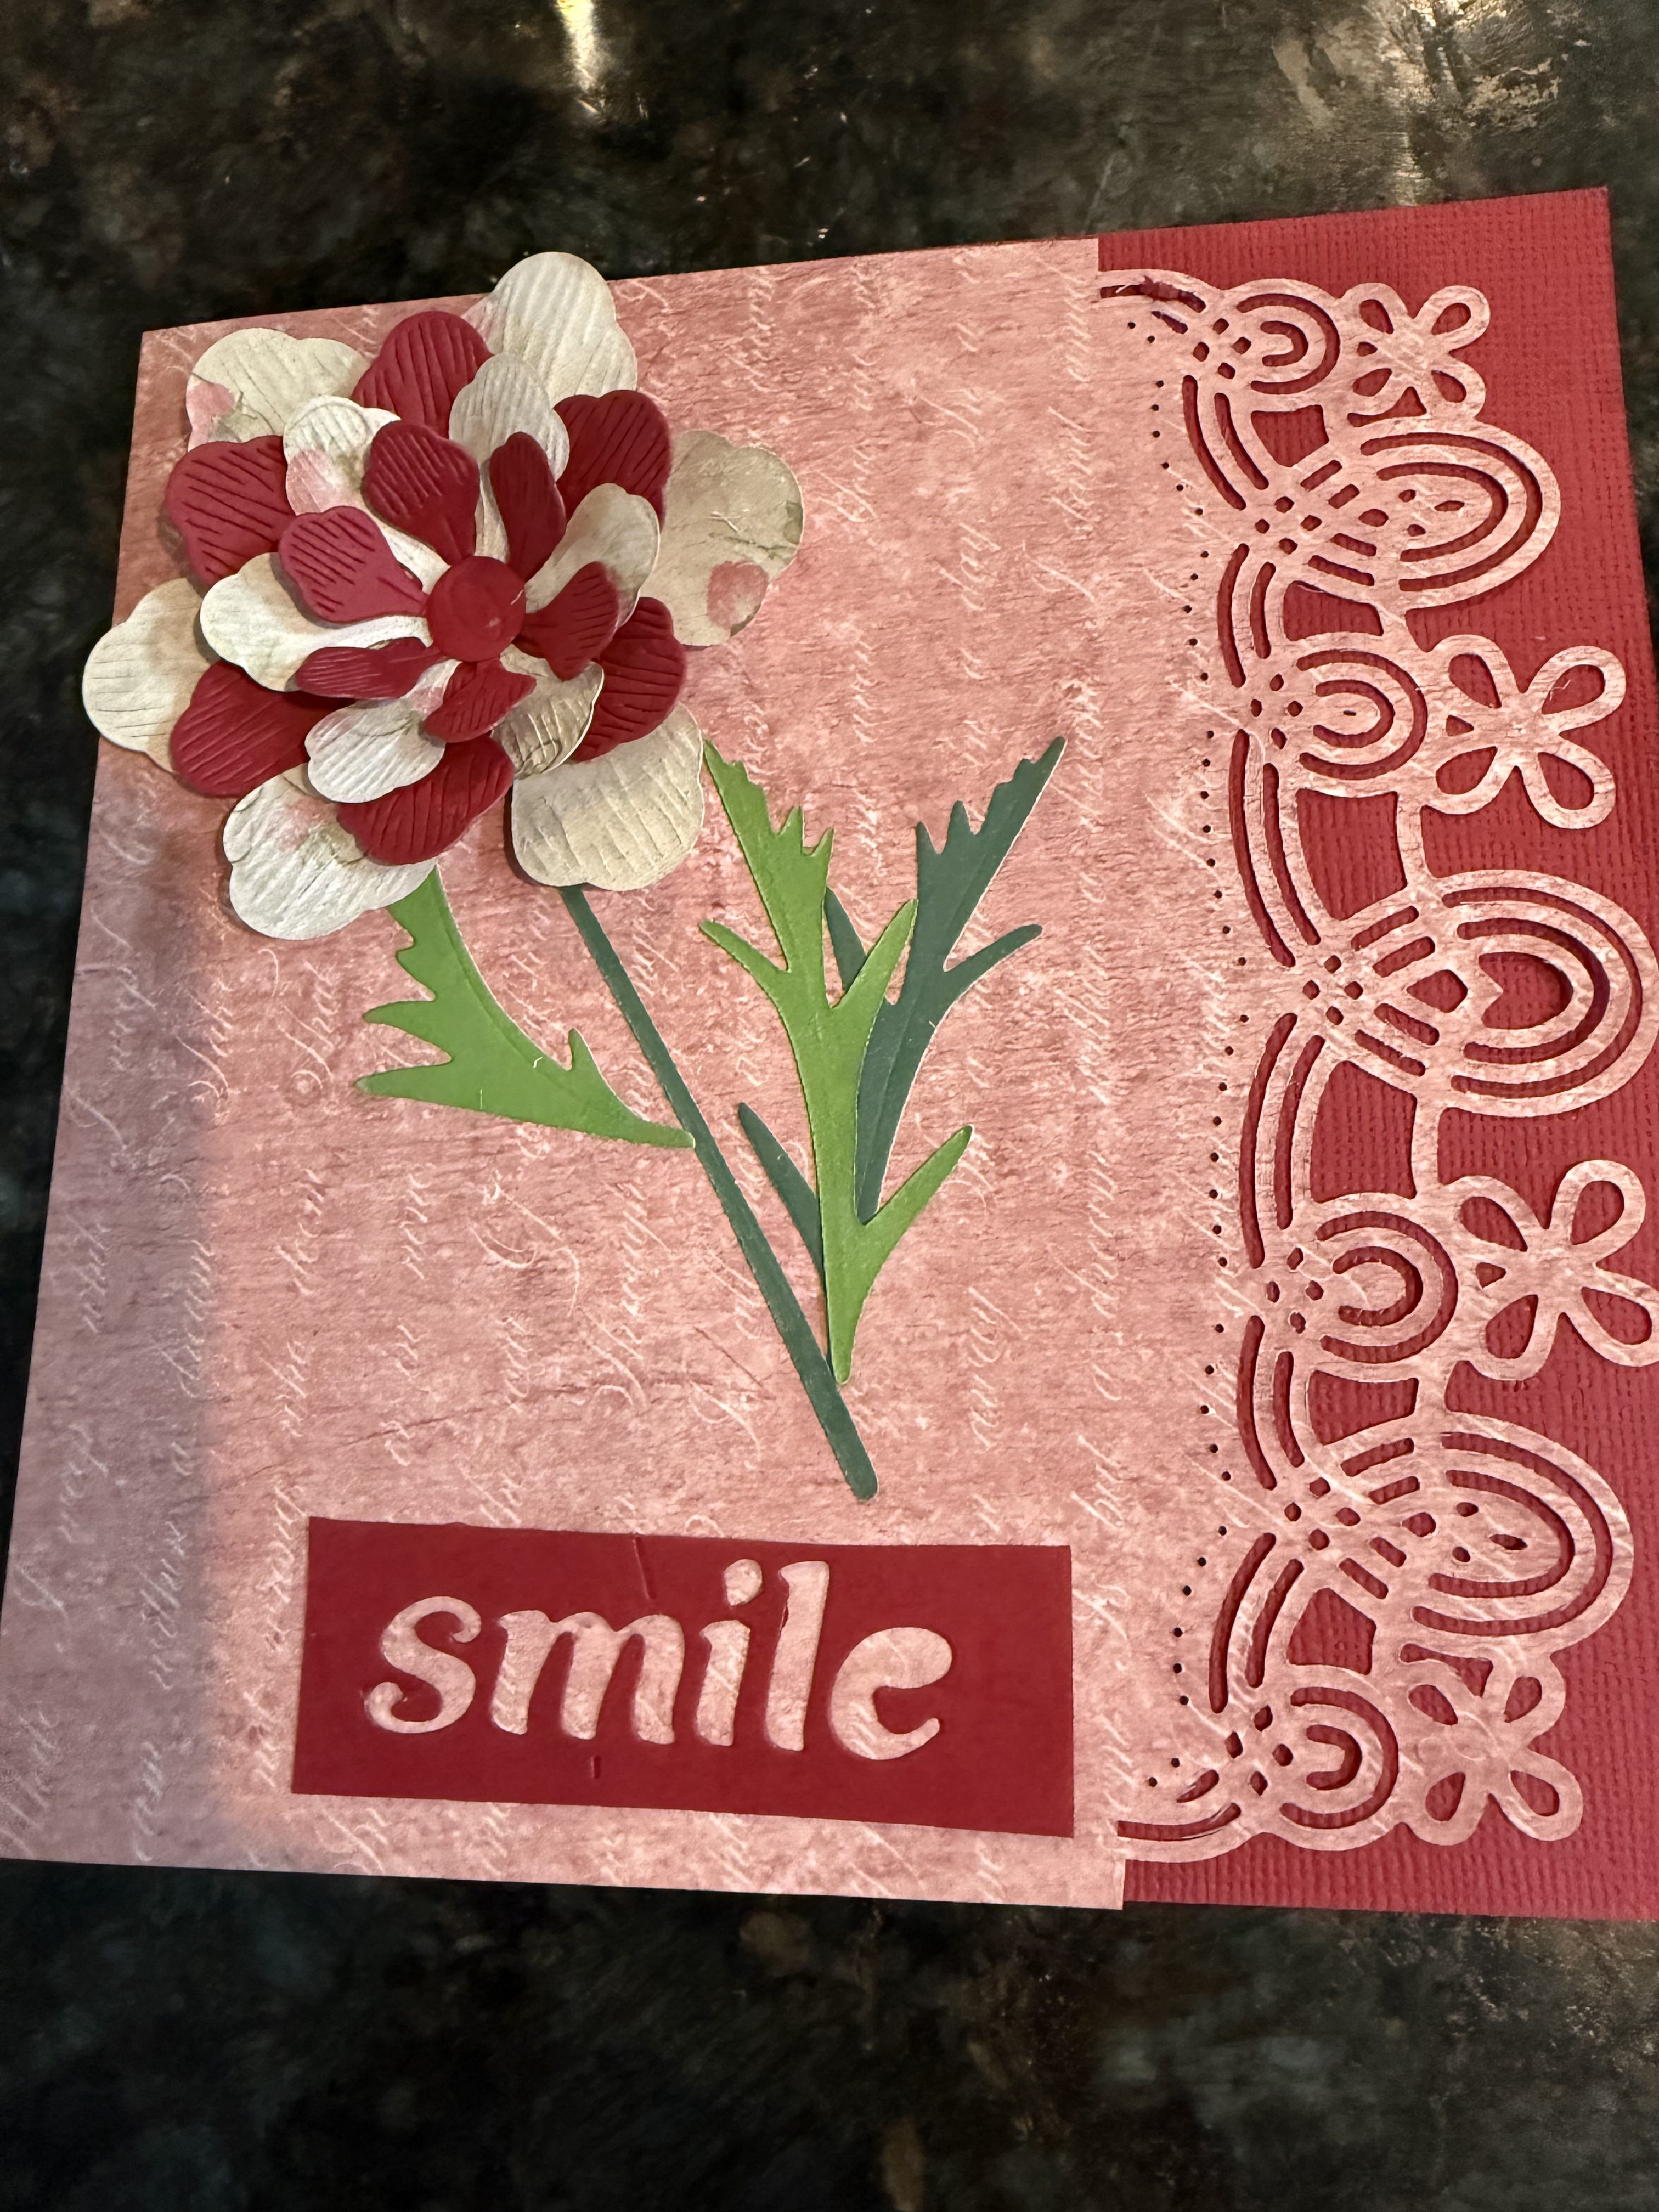
Welcome to the blog today, friends. Today, it’s all about finding creativity in your everyday life—the kind that gently unfolds when you give yourself a…
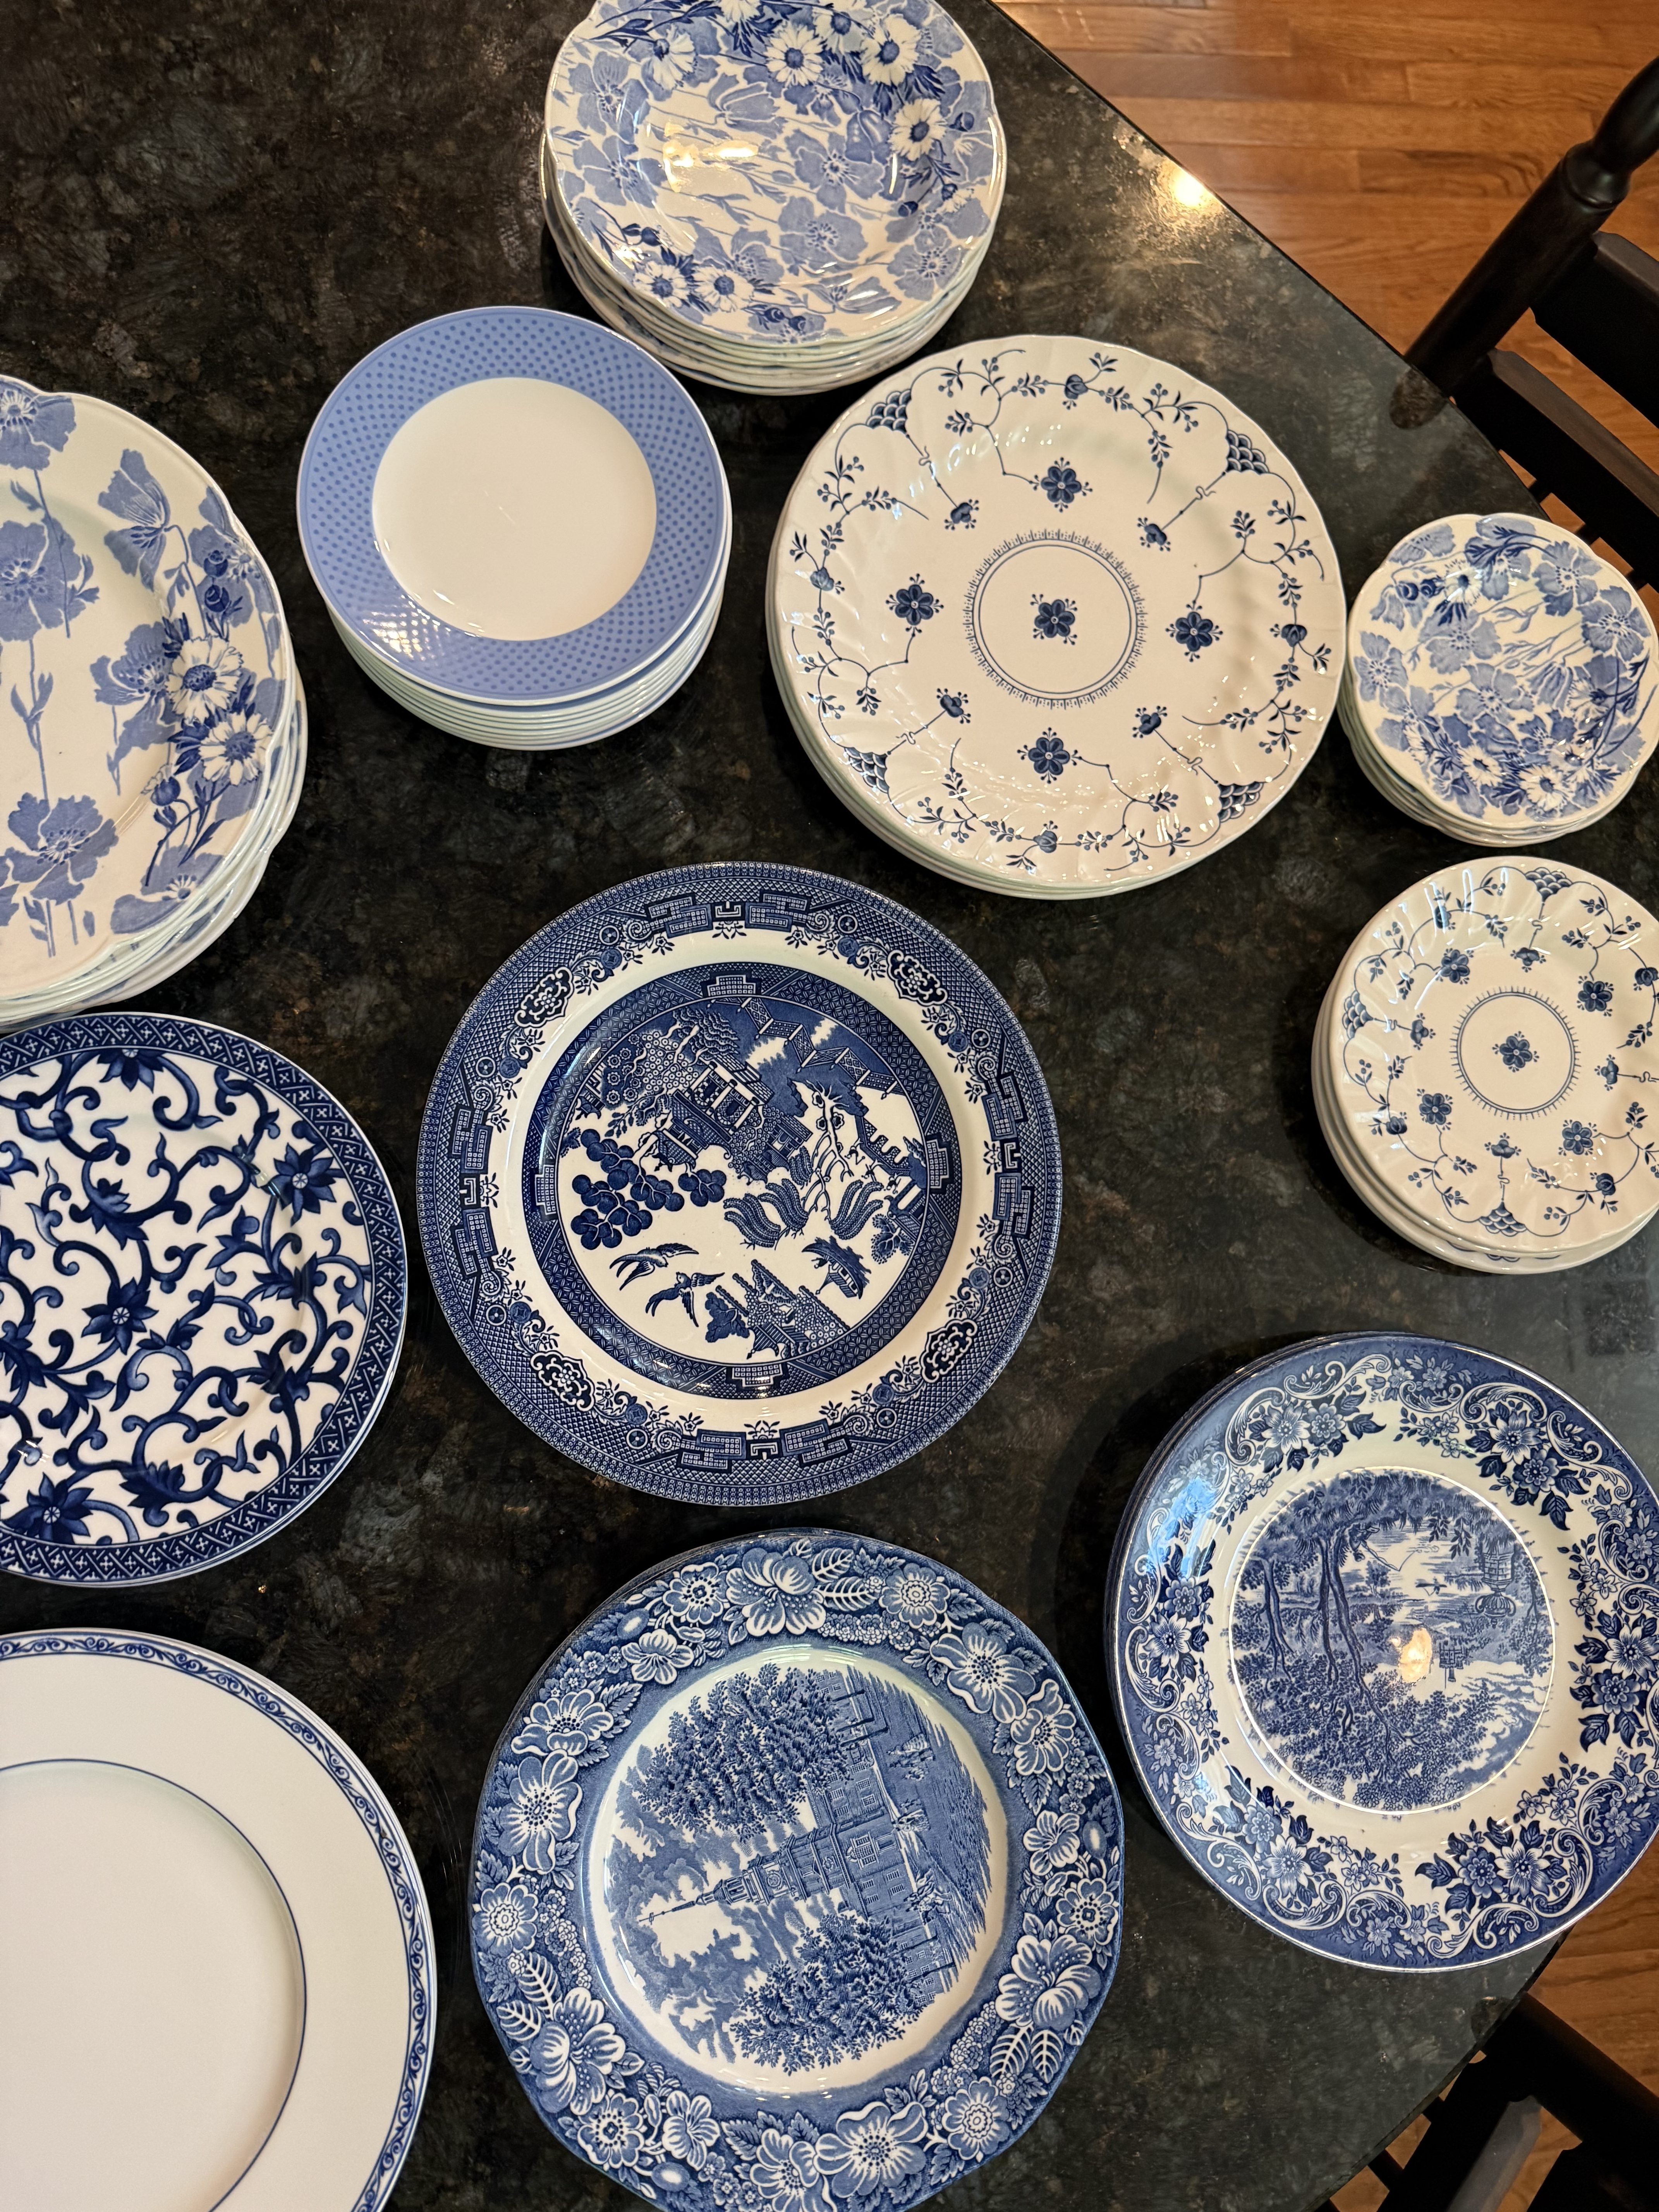
Welcome to the Blog today, Friends. Welcome, friends… there is something so timeless and comforting about blue and white china, isn’t there? It feels like…
Welcome to the Blog today, Friends. One of my favorite places in the world to vacation is Ireland. We’ve been there several times—and not just…
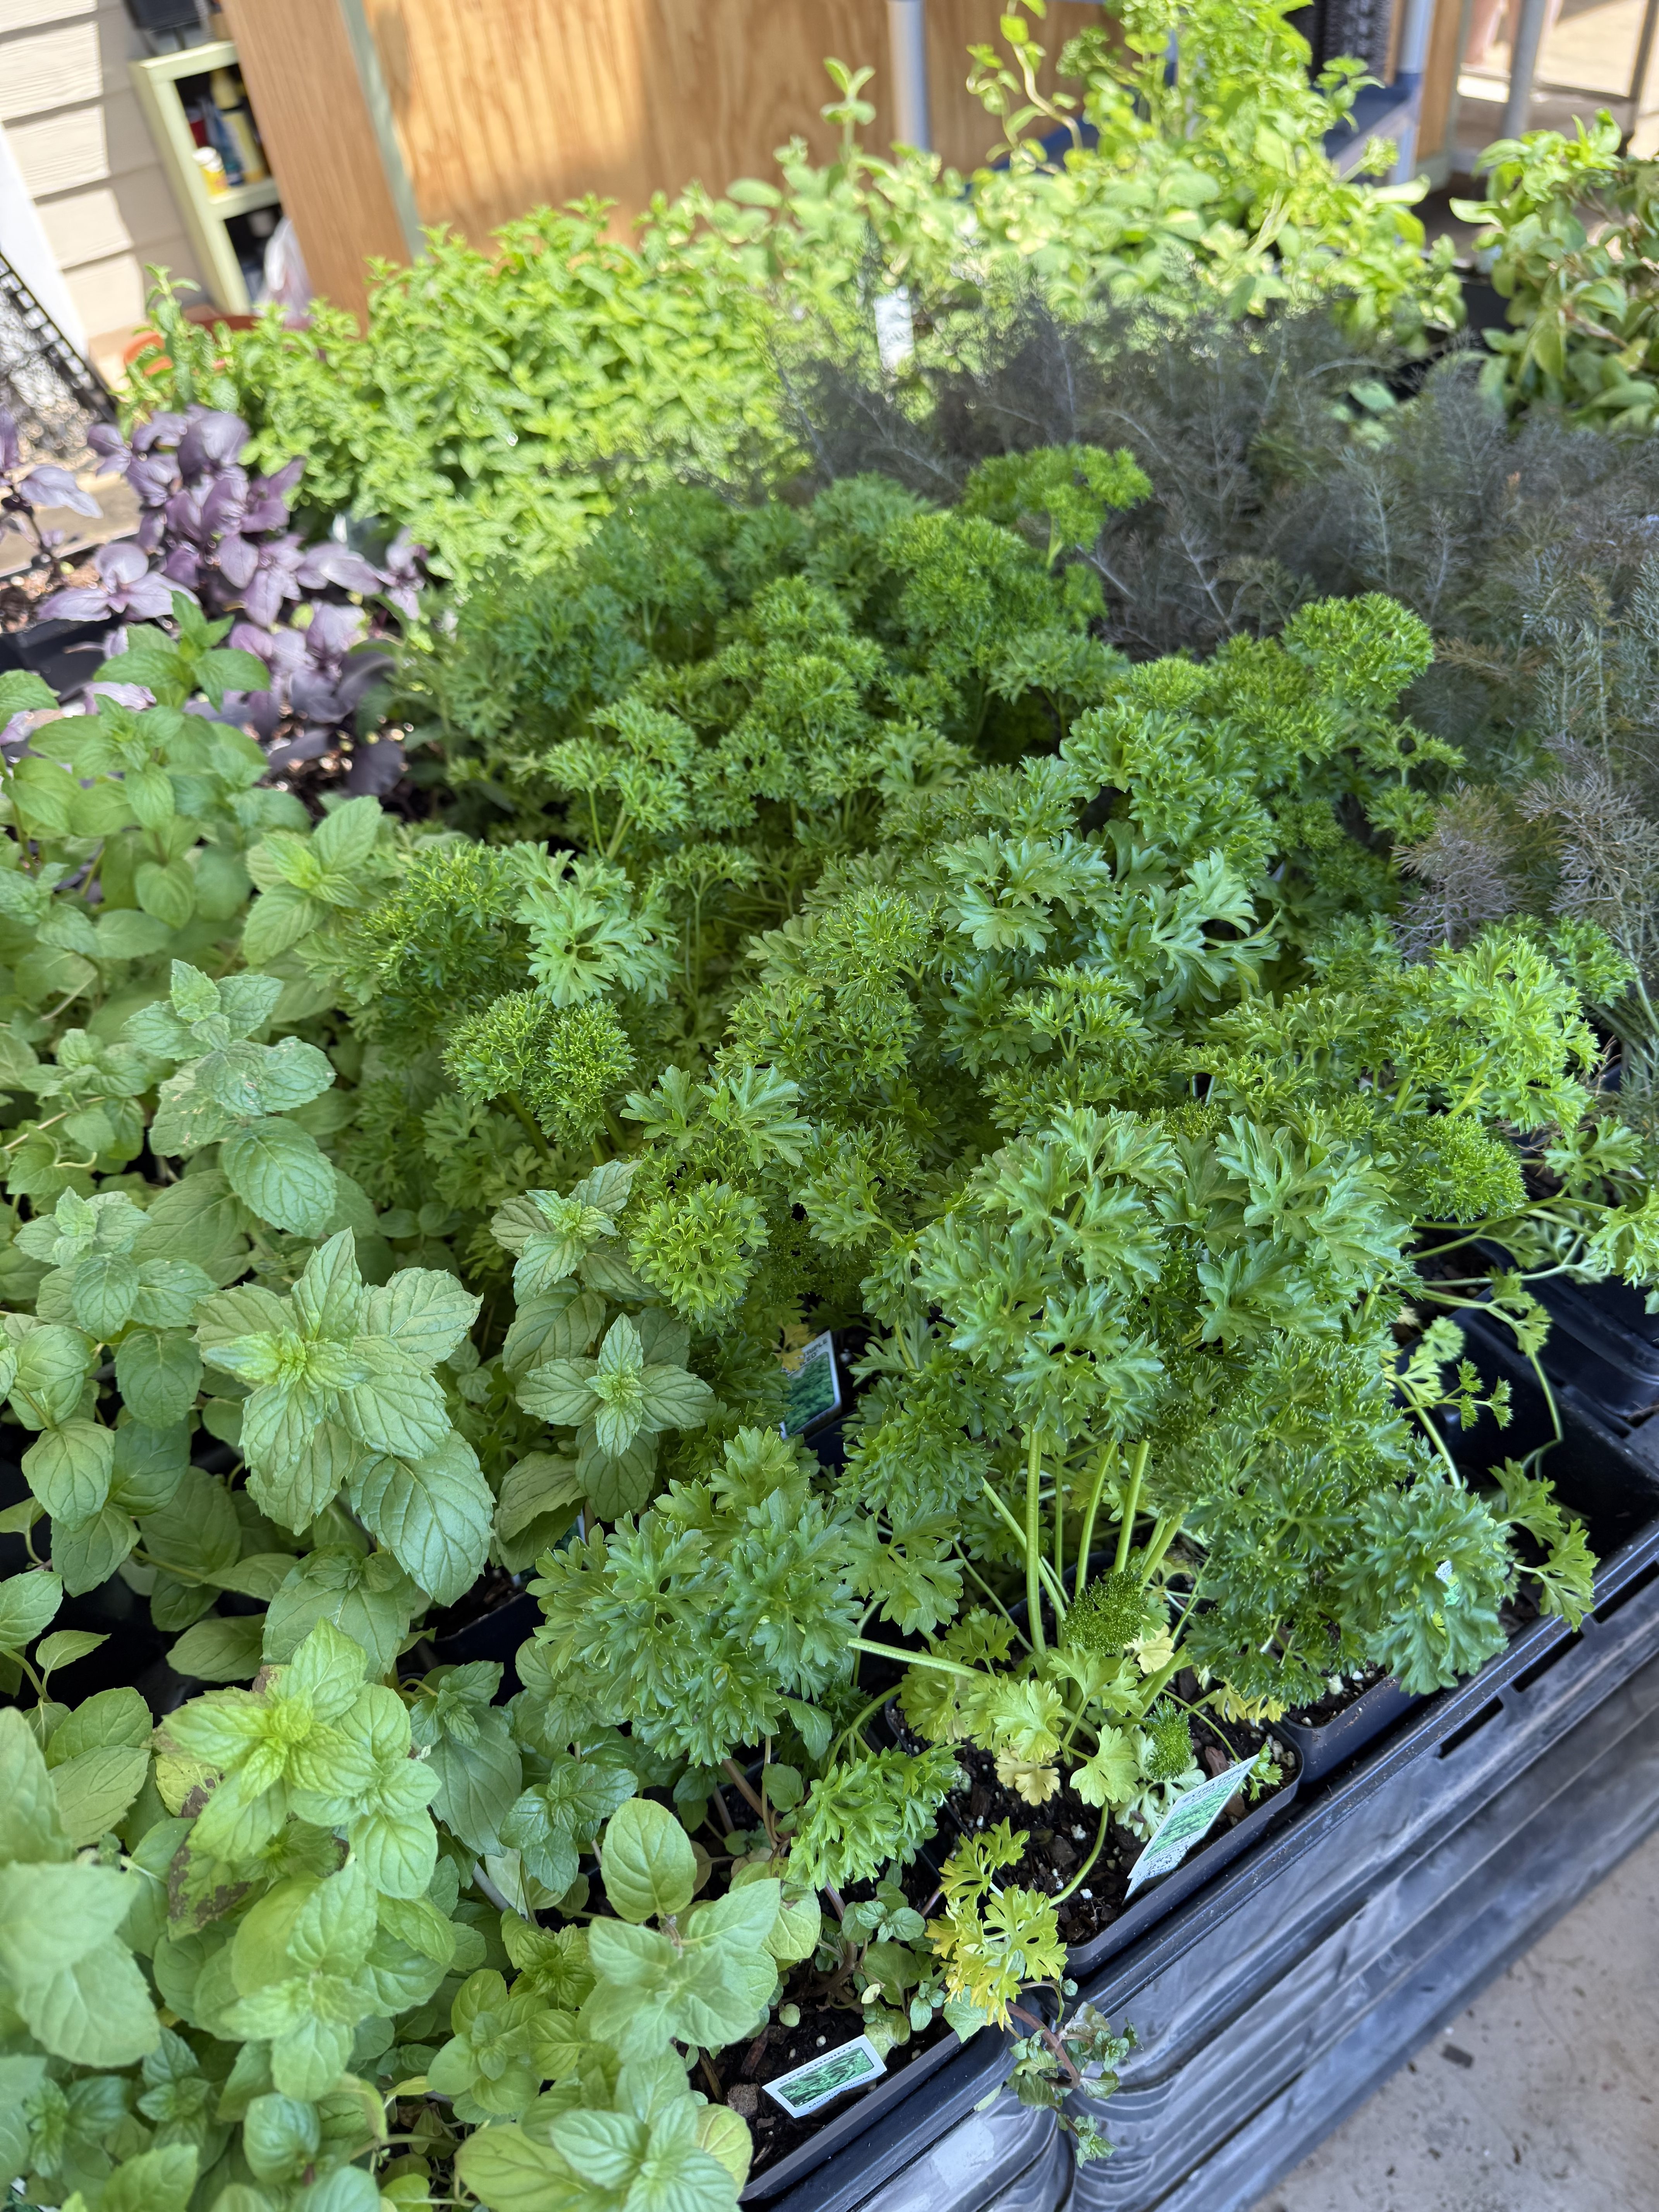
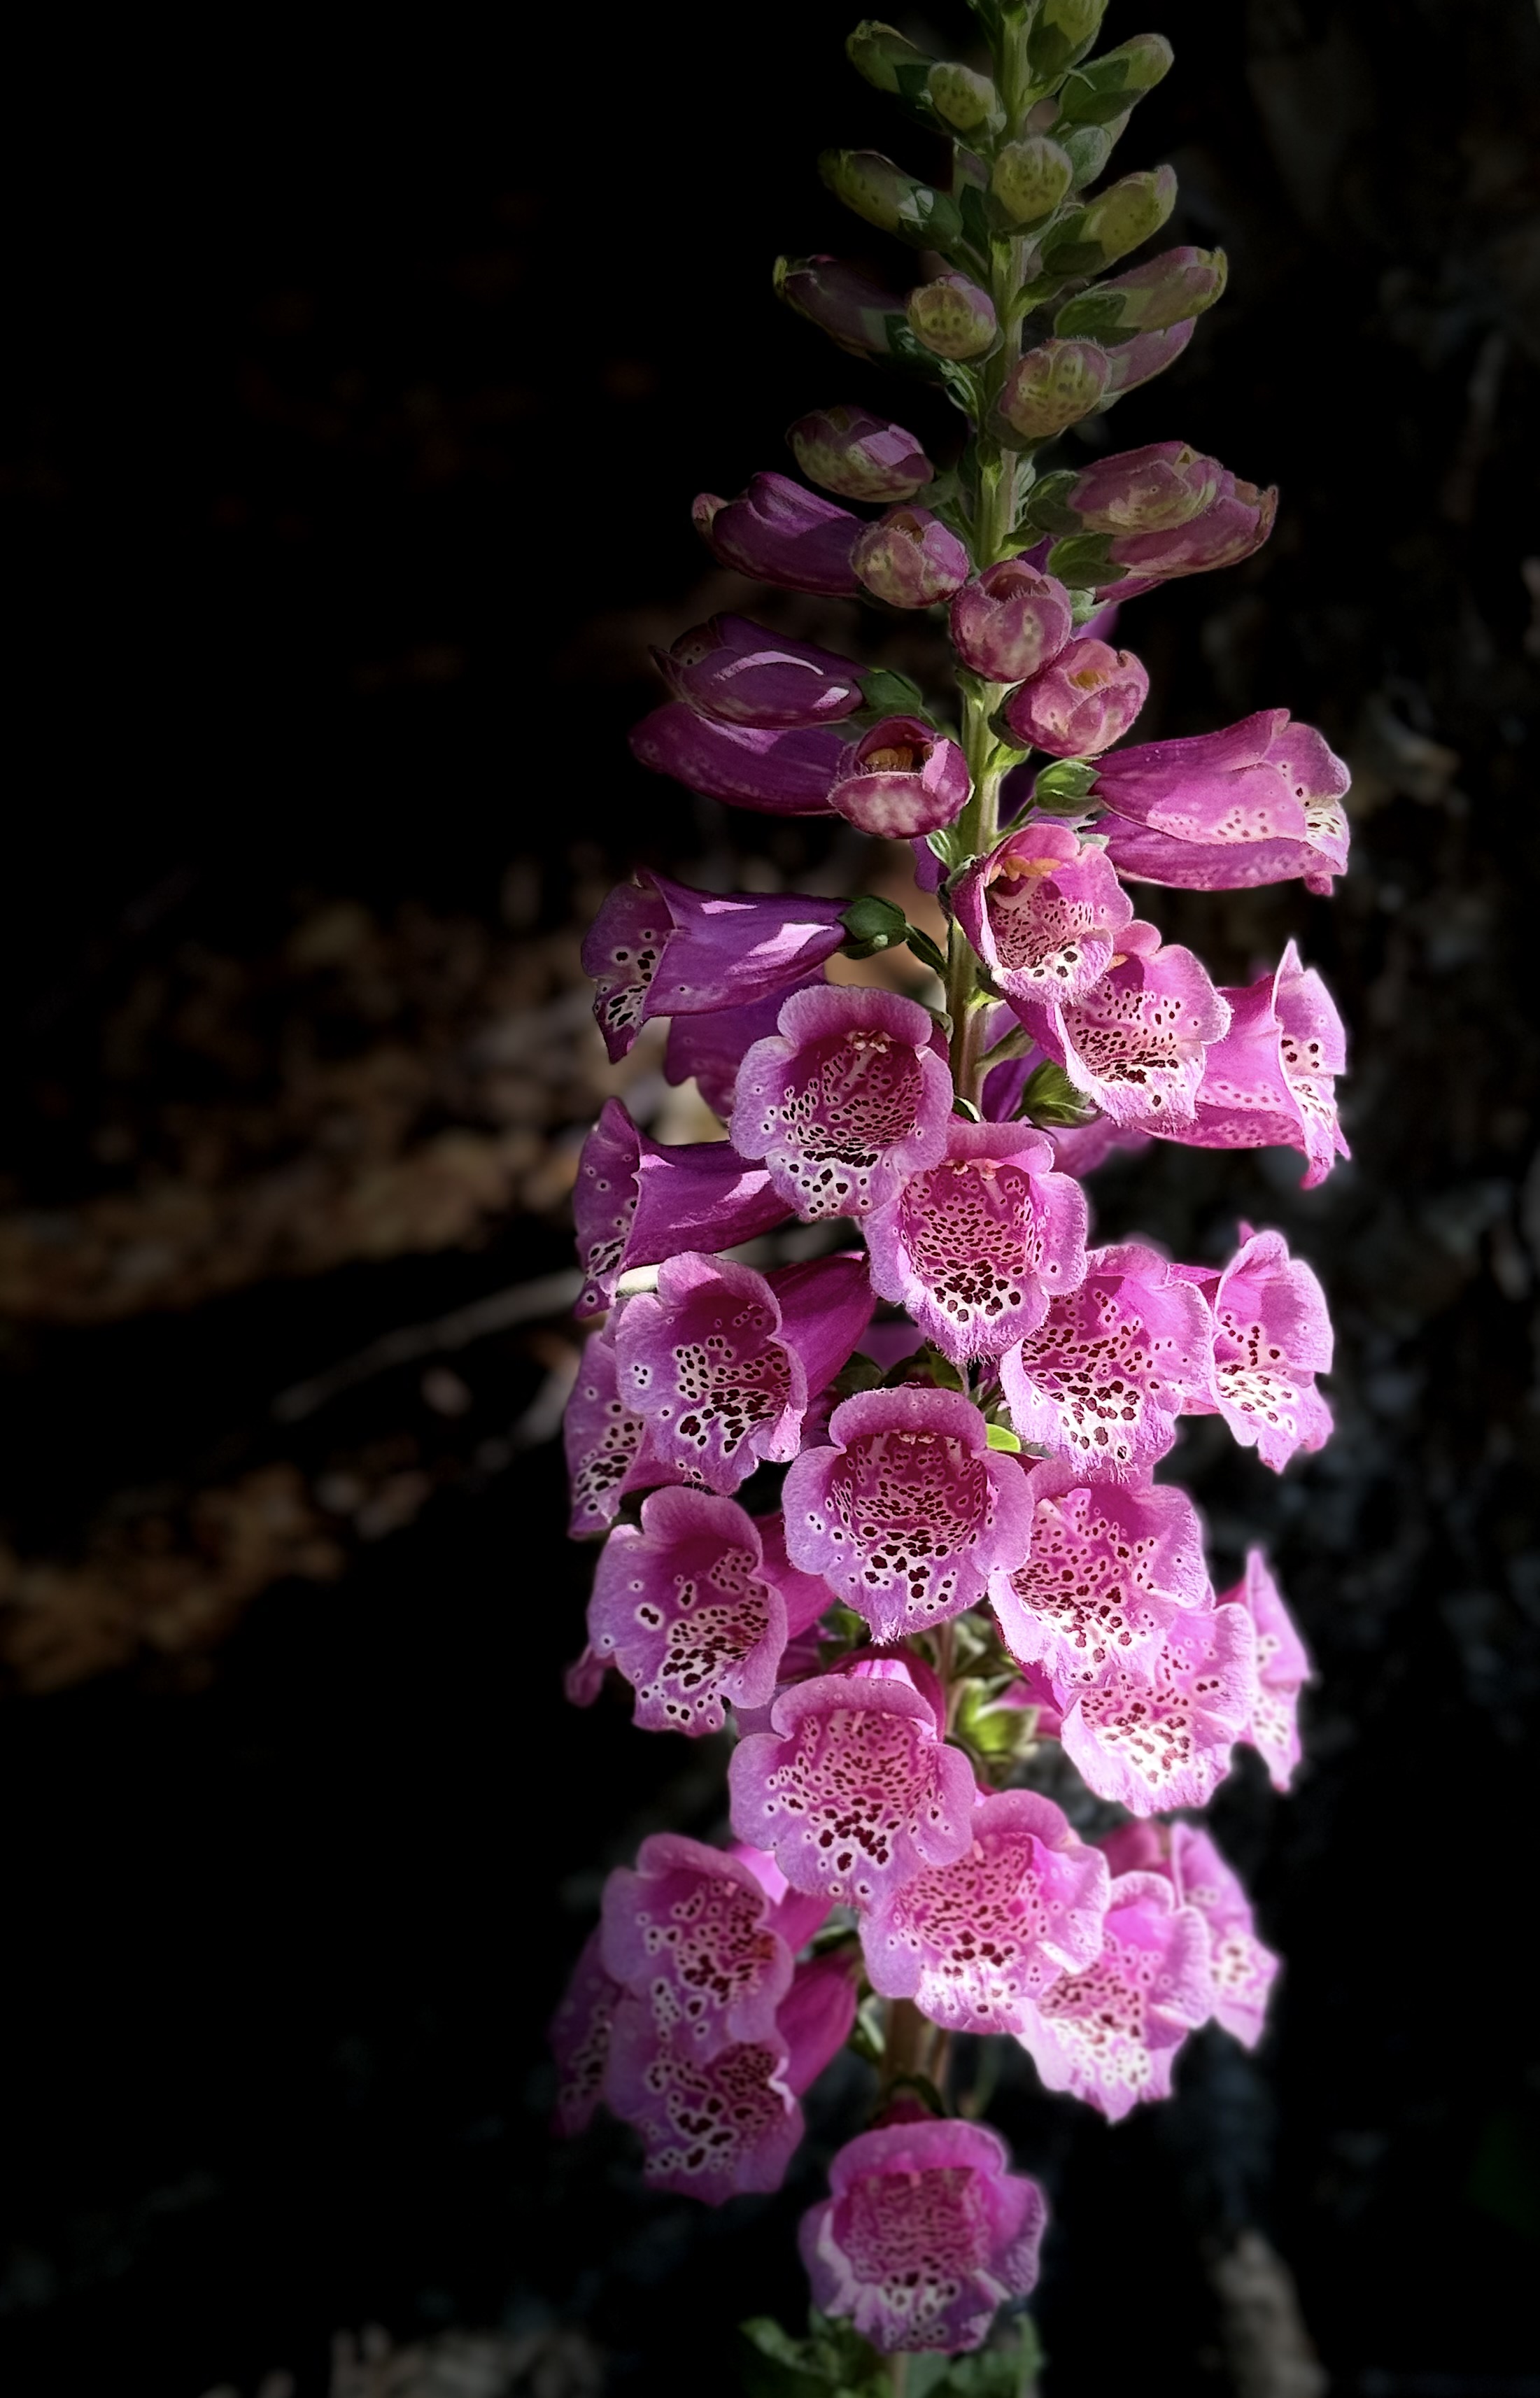
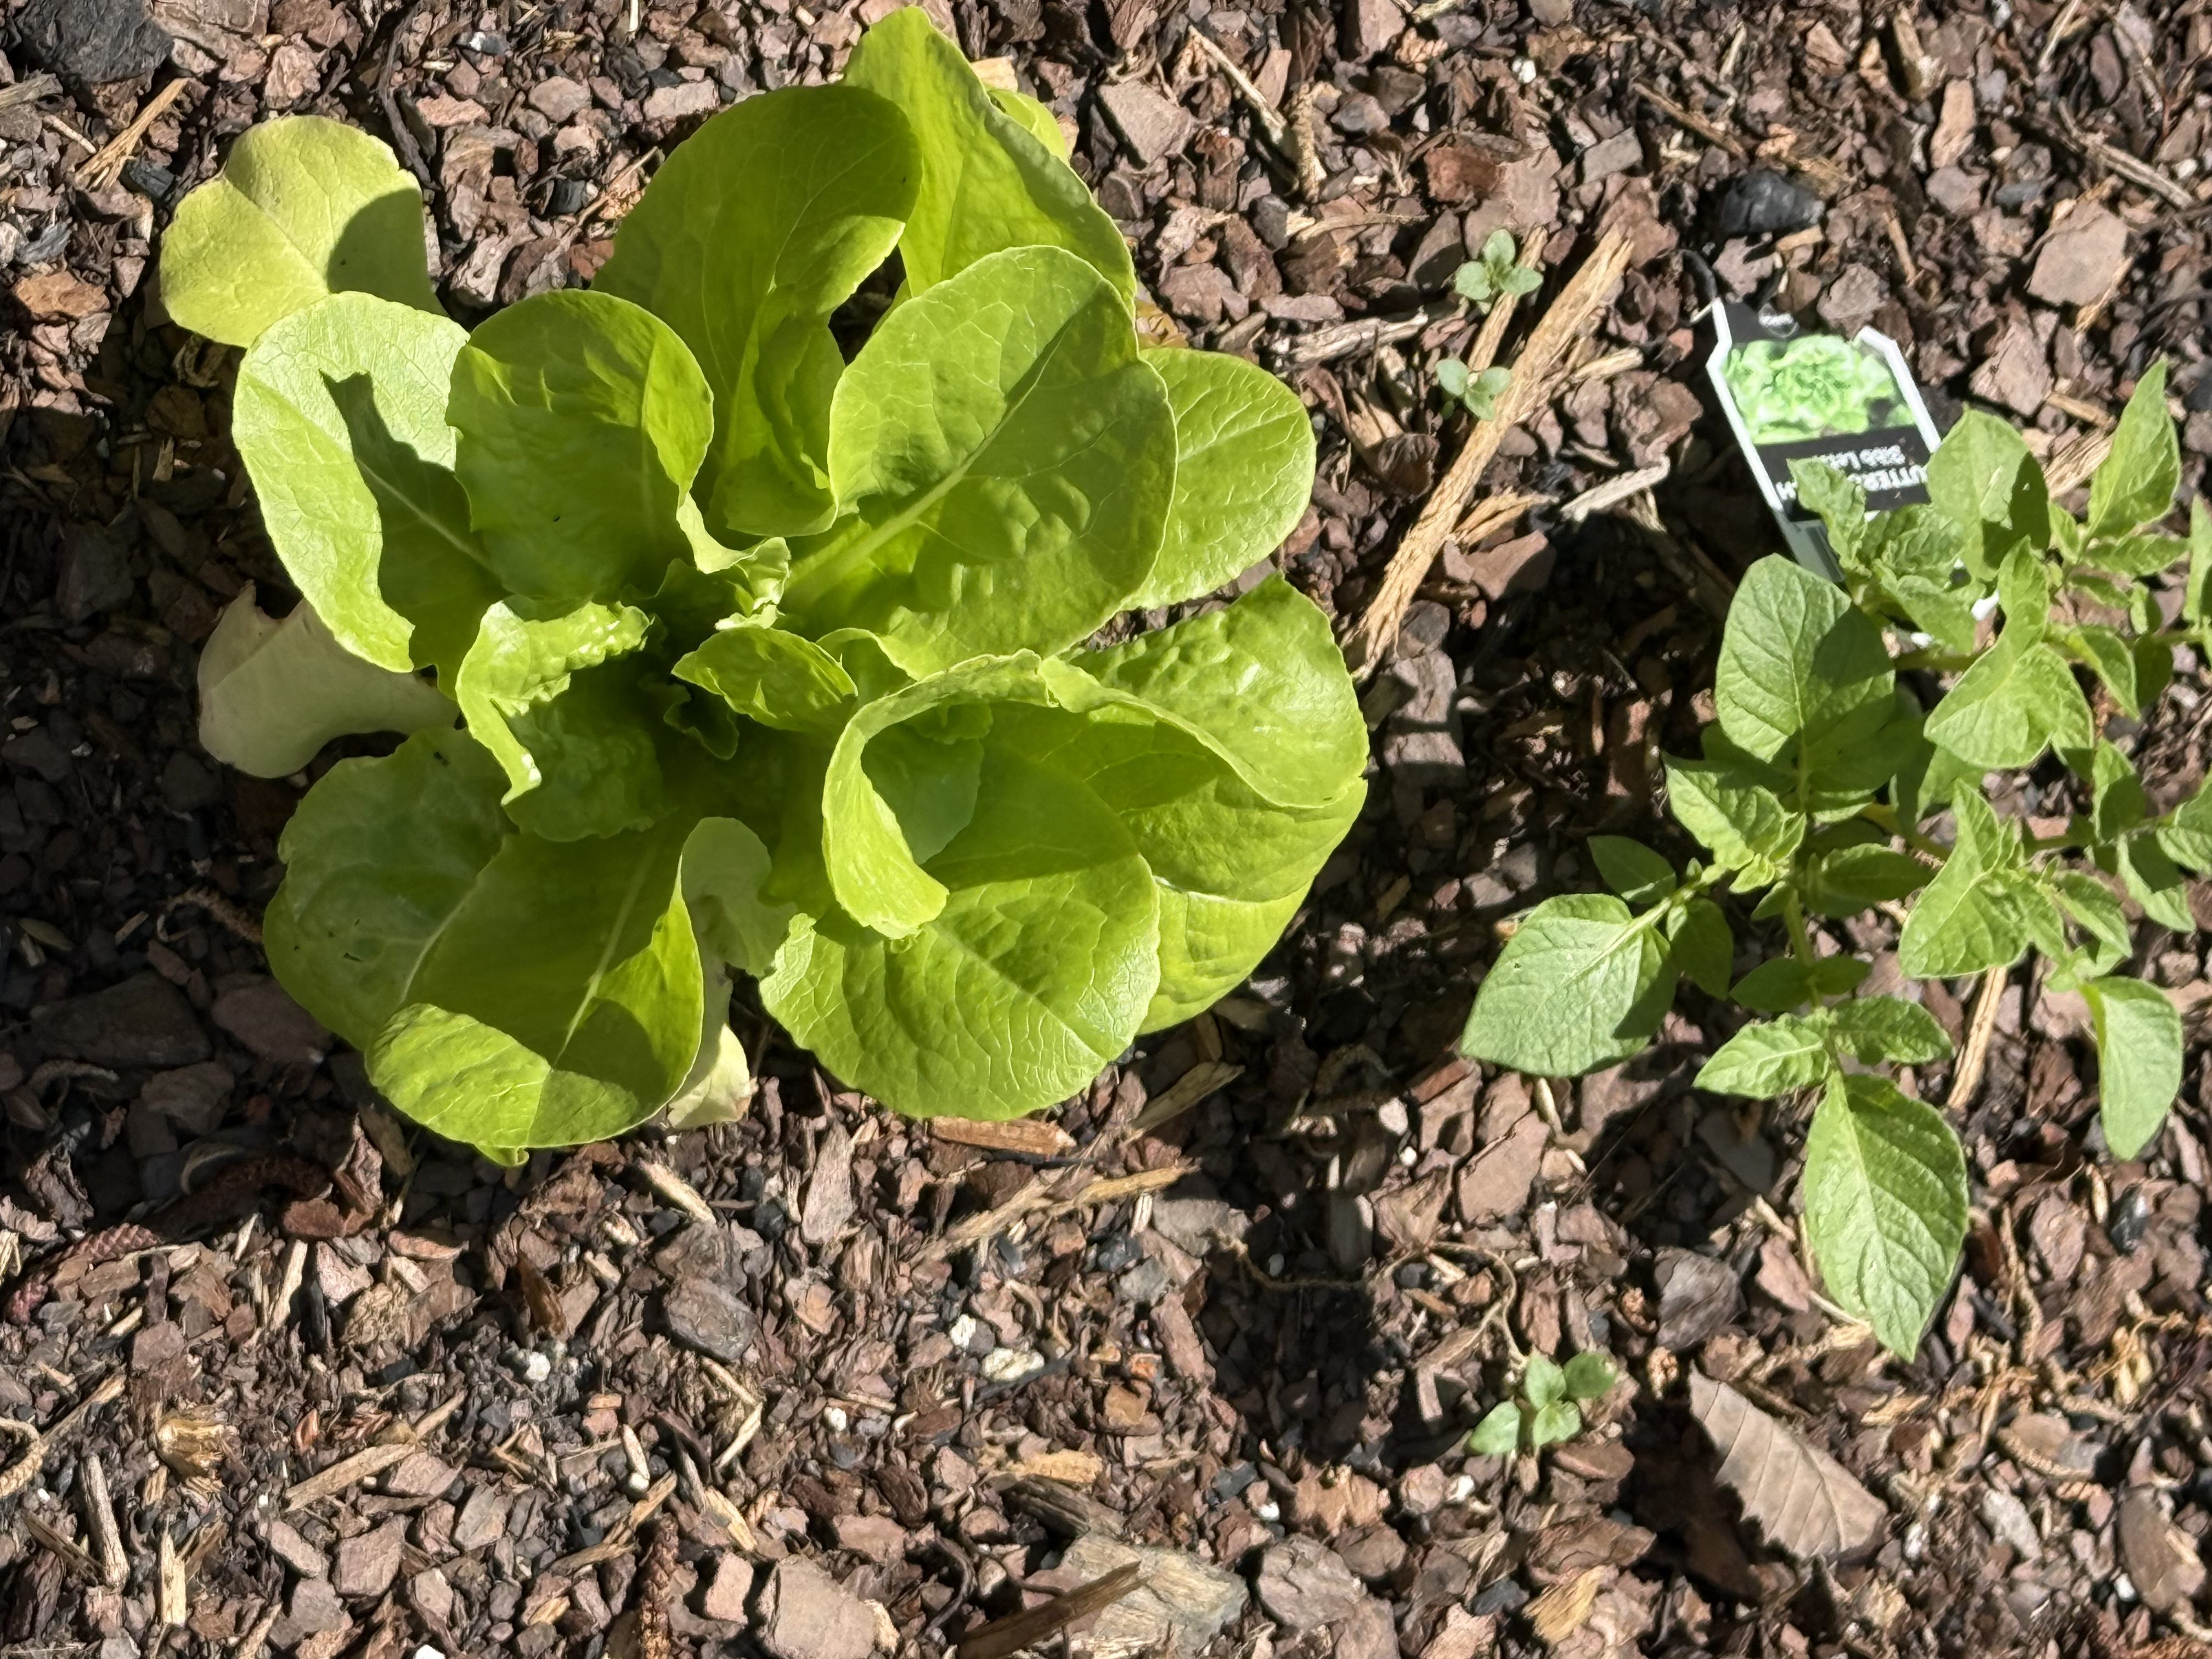
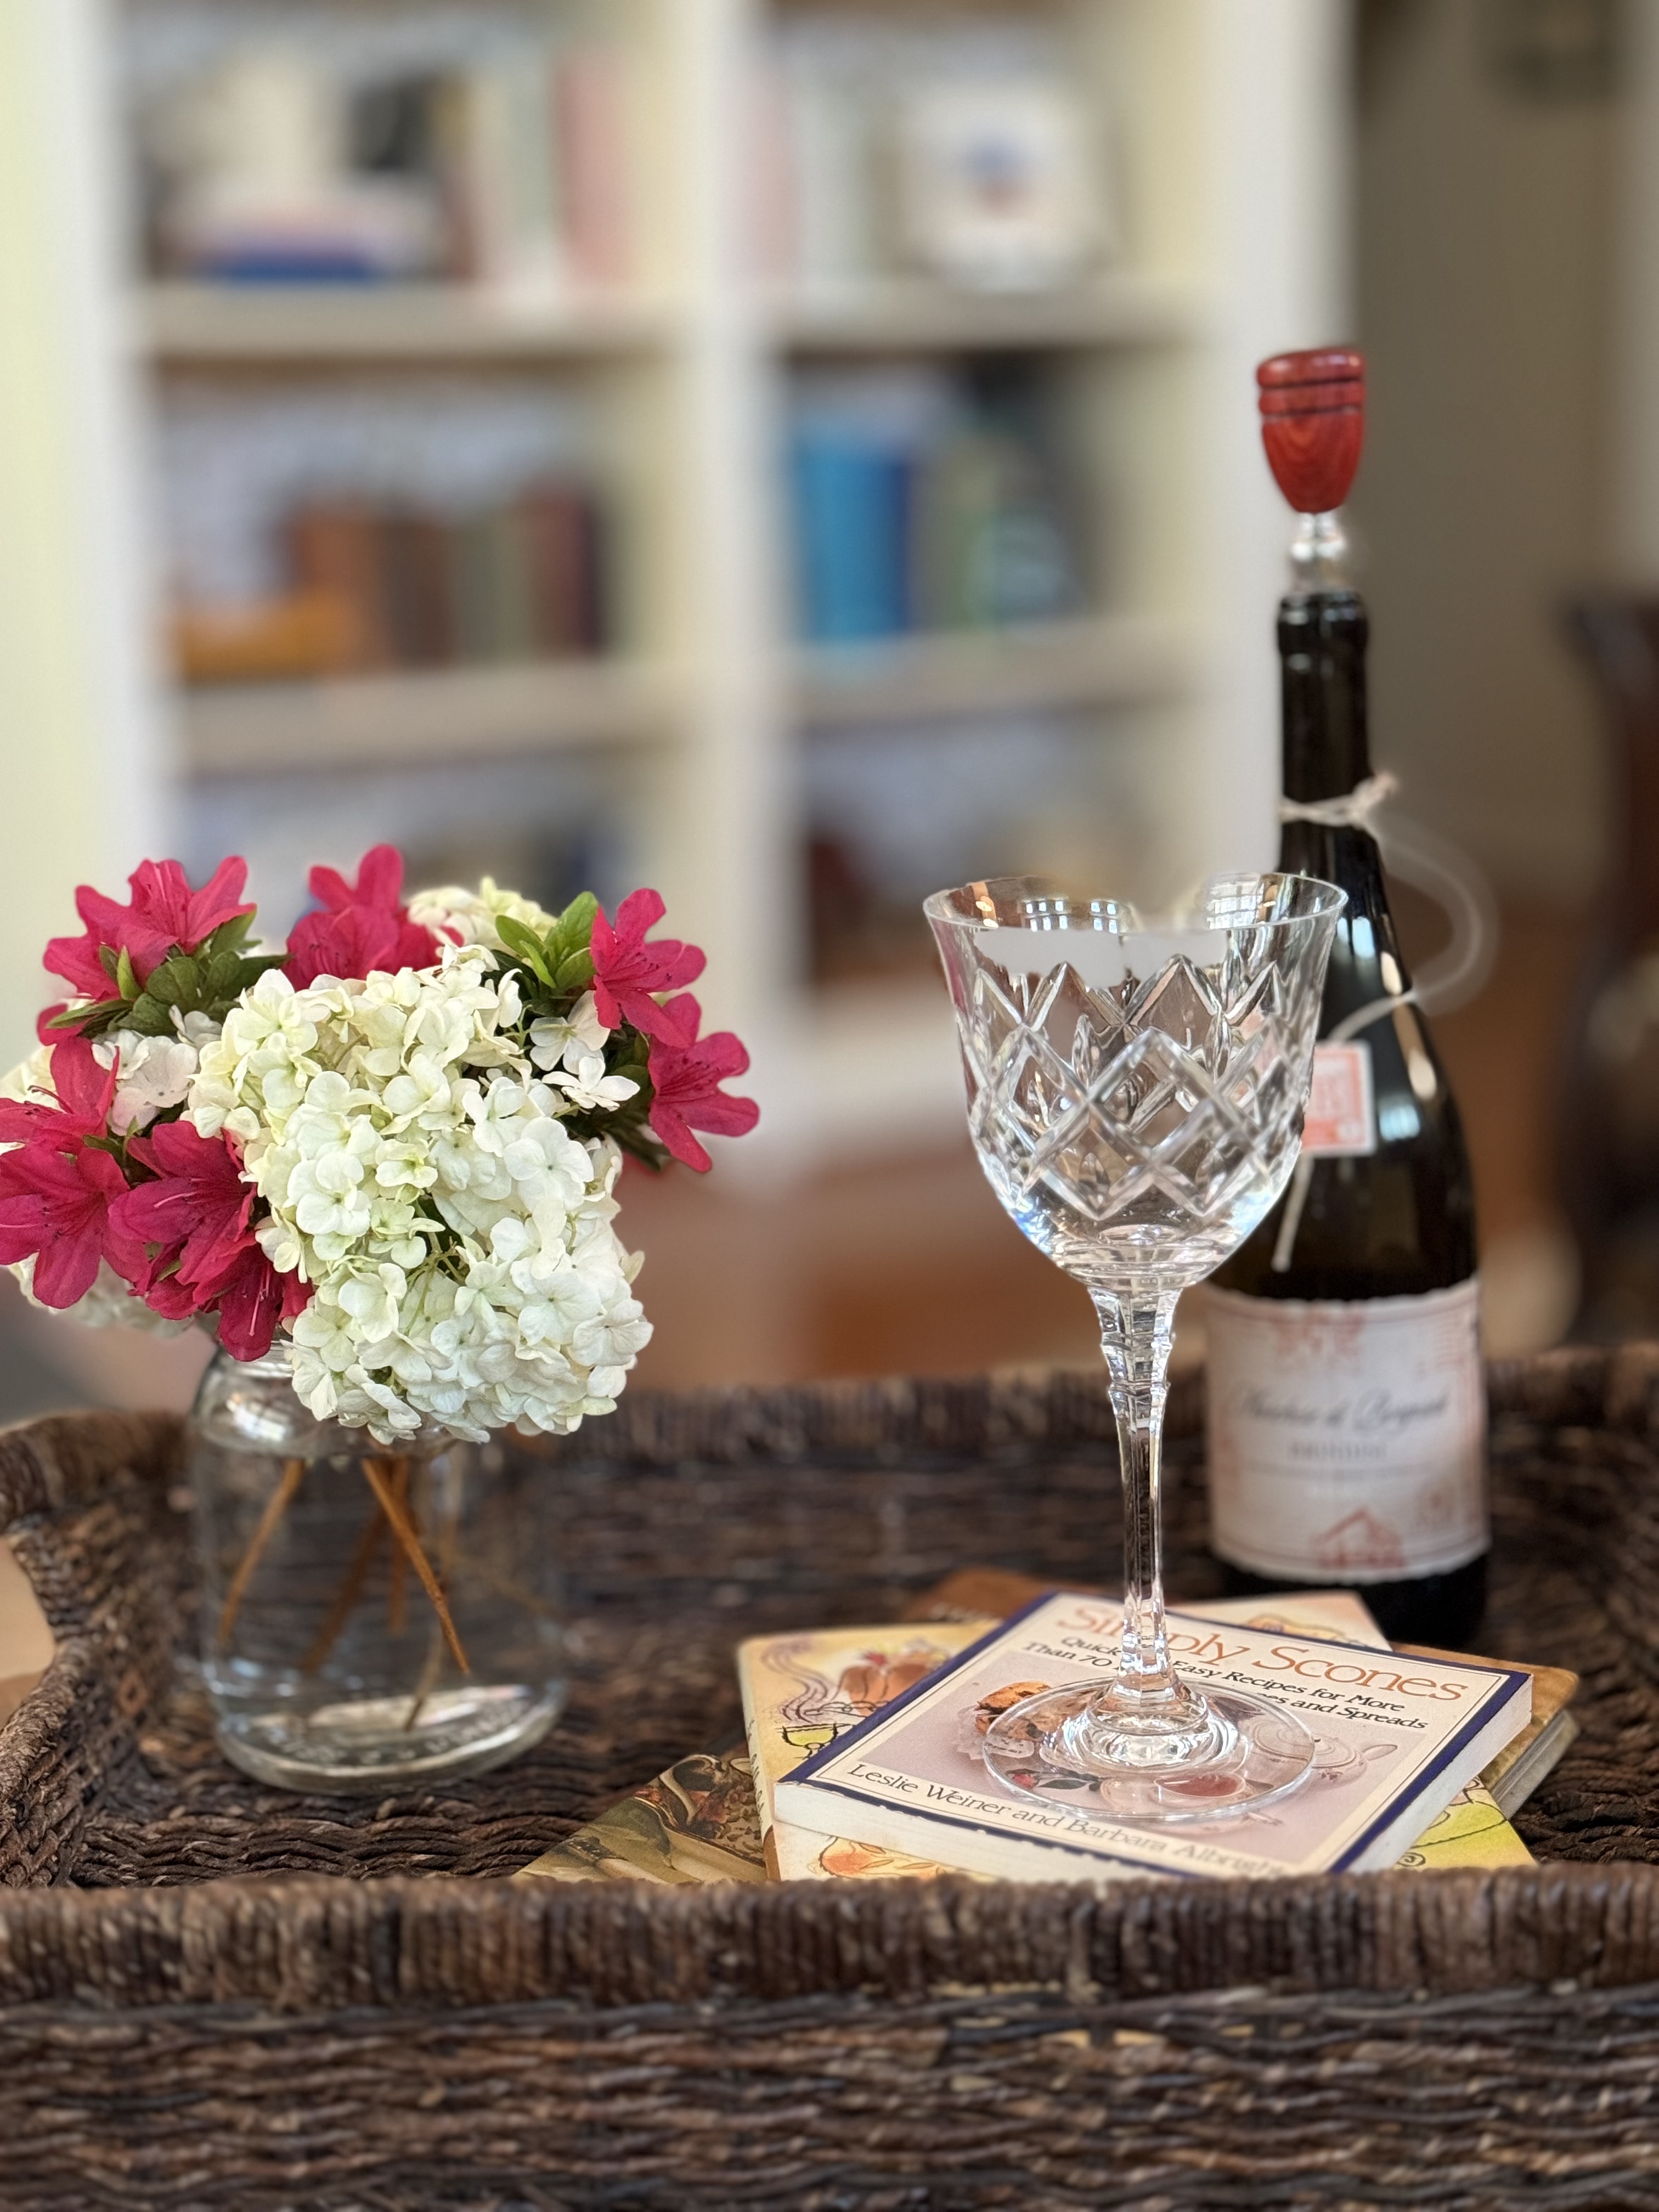
I’m so happy you are visiting here today. There’s something especially lovely about this time of year, isn’t there? The garden seems to wake up…
Welcome to the blog today, friends. First, a little apology for posting so late in the day. It’s been one of those wonderfully full weeks—filled…
Welcome to the Blog today, Friends. I am so excited to have you join me here today for this latest thrifting adventure. This one took…
“In solitude, listen to your heart, for at that moment, it speaks nothing but the truth.”― Michael Bassey Johnson Welcome to the Blog today, Friends. Spring…